Exporting processed images requires choosing a cloud service for the images to be saved. Let us take a look at how that is done.
Step 1: Select Cloud Services
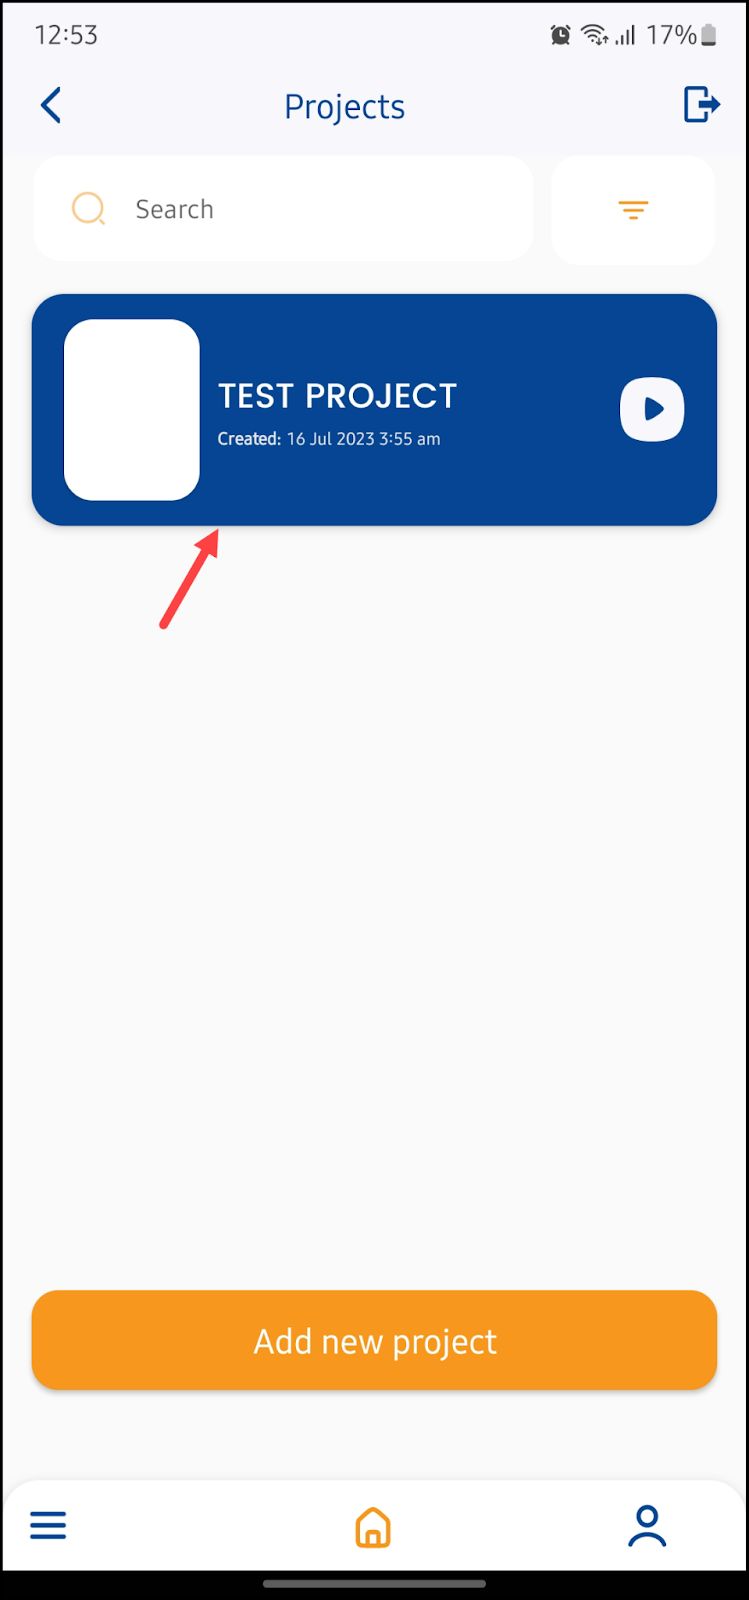
- Upon successful login, open a project by tapping the project name.
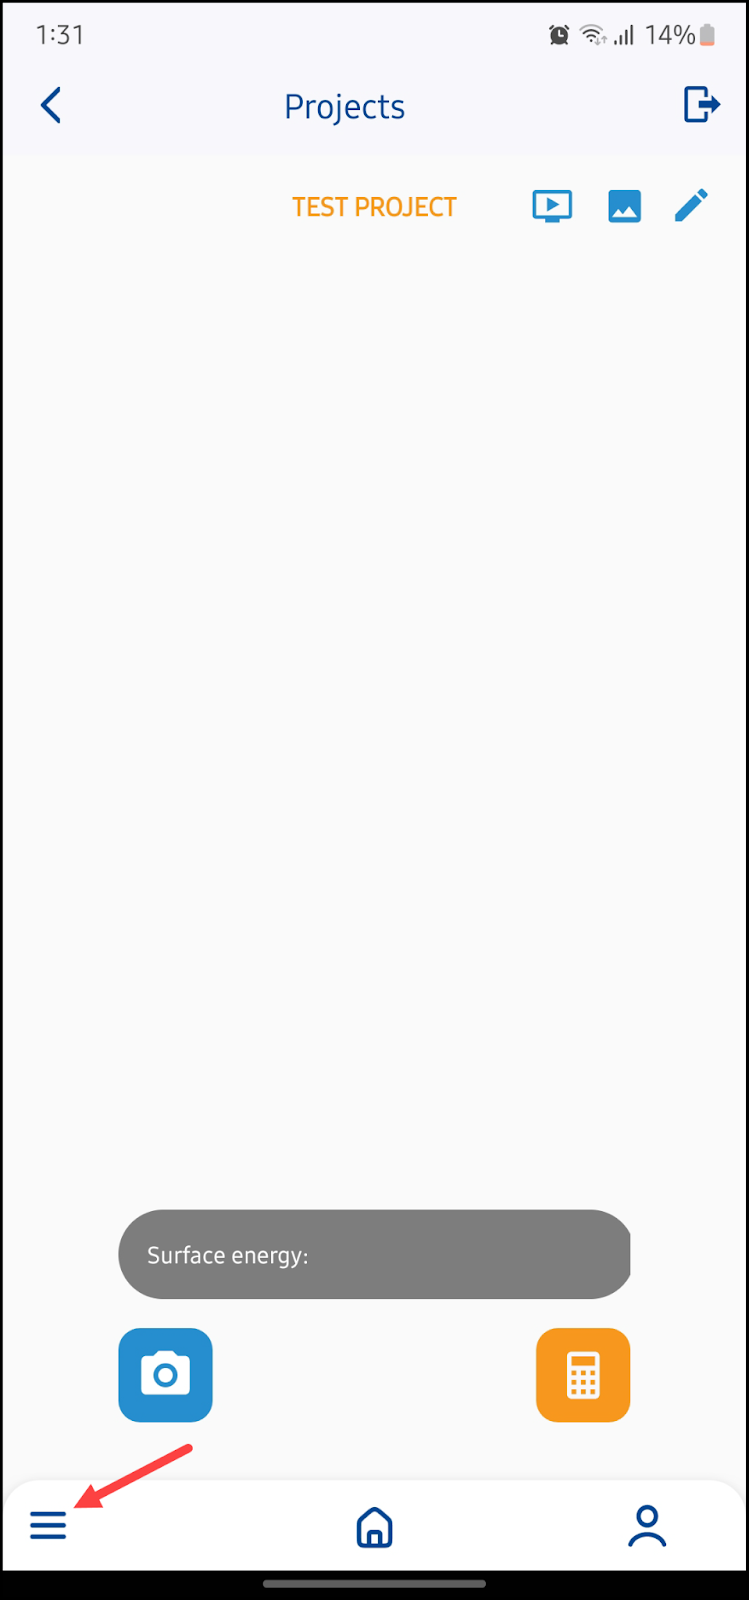
- This opens the details for the selected project. From here, tap the three-line icon located at the bottom-left corner of the screen.
- As a result, a number of options are displayed. Tap the Change Cloud Service button.
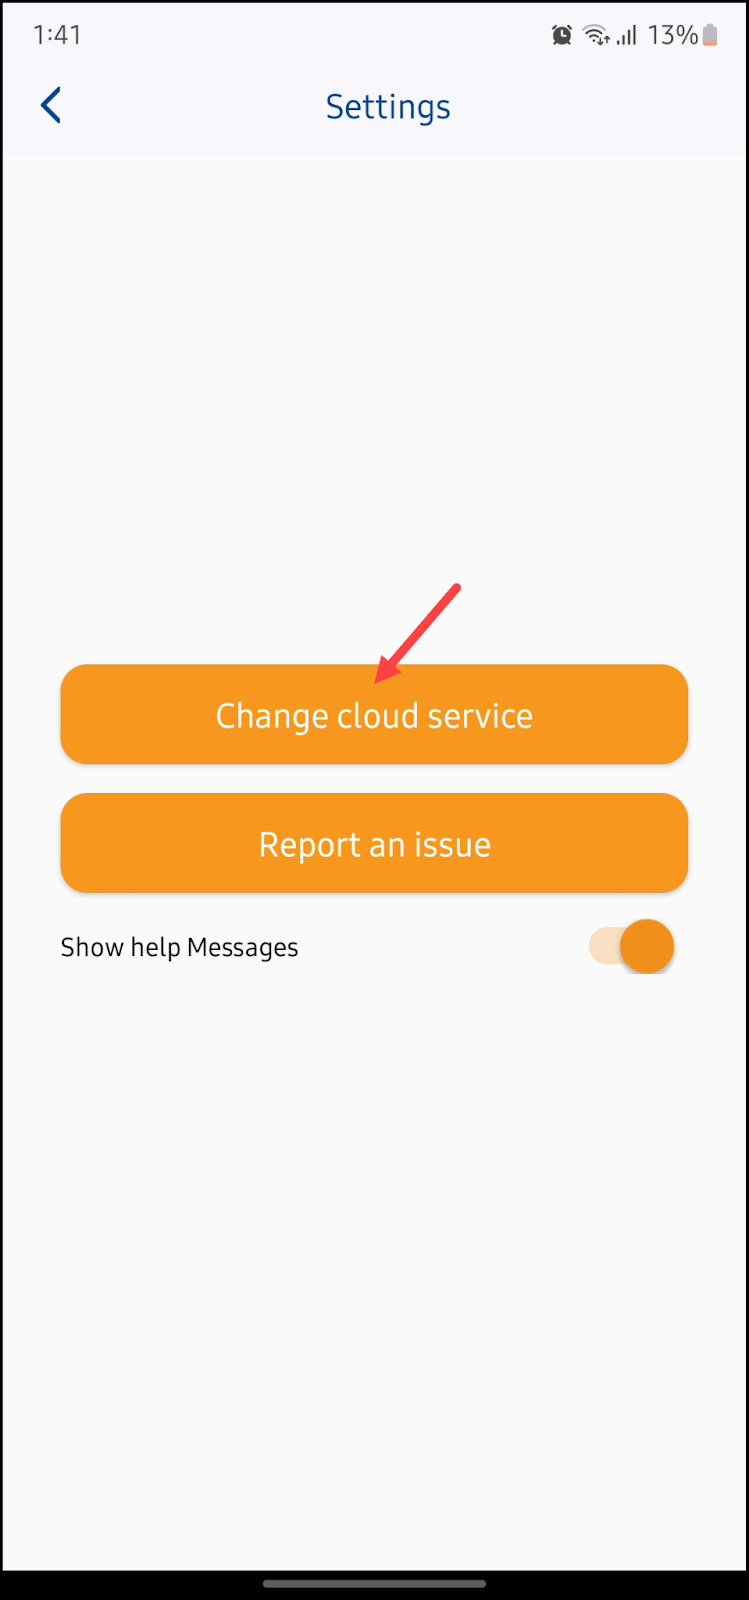
- This opens a popup listing a number of available cloud services. Make the required selection using this popup.

Step 2: Save the Image(s)
- Now go to the projects screen and select an image you have captured.

- To save the selected image, click the SAVE IMAGE button located at the top-right corner of the screen.

- This opens the selected cloud service for the image to be saved.
Step 3: Export Processed Image(s)
- Select the image you want to export the details for by long-tapping the image tile. This reveals a number of options at the top-right corner of the screen.
- From these options, click the export icon.
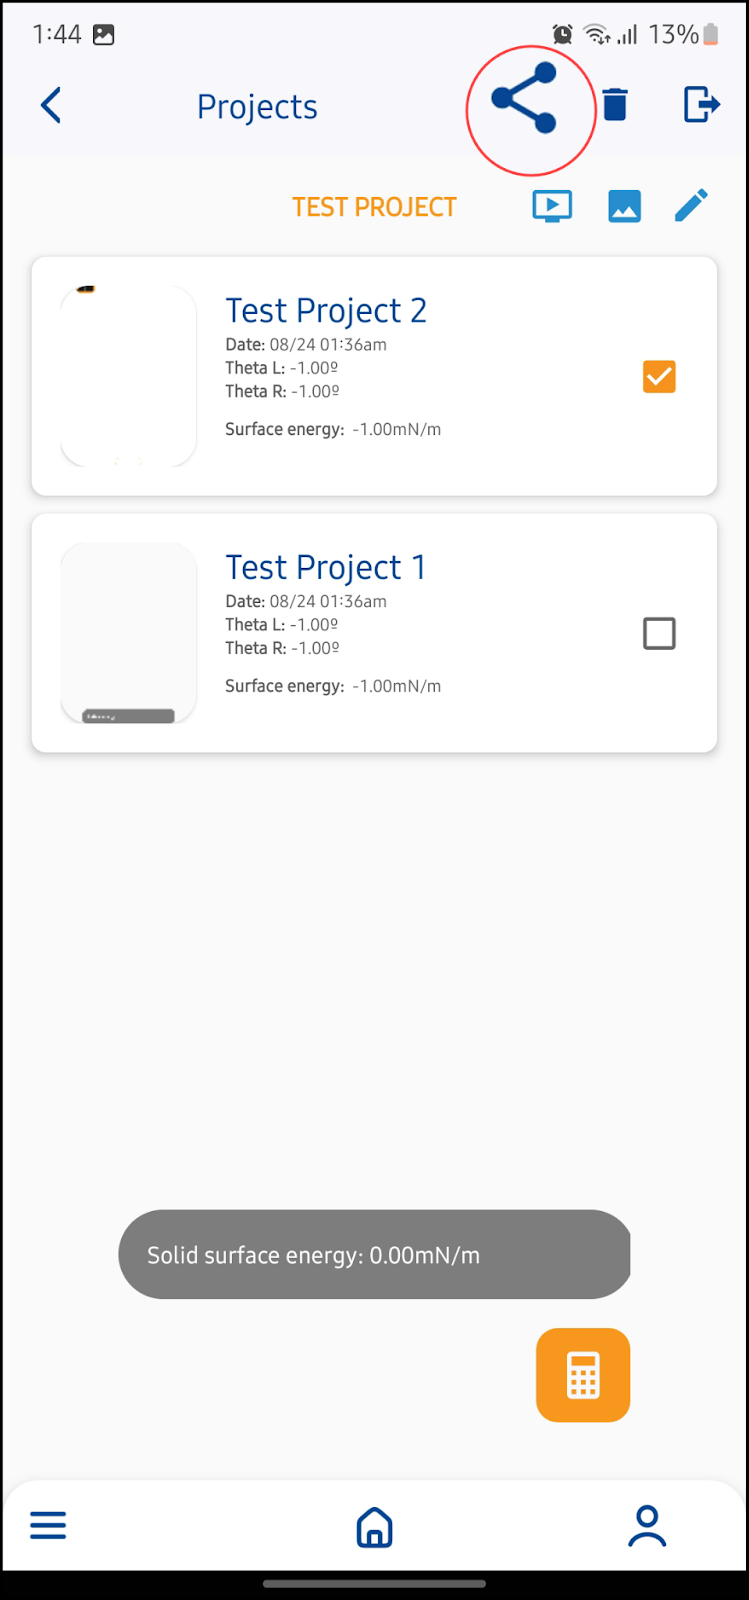
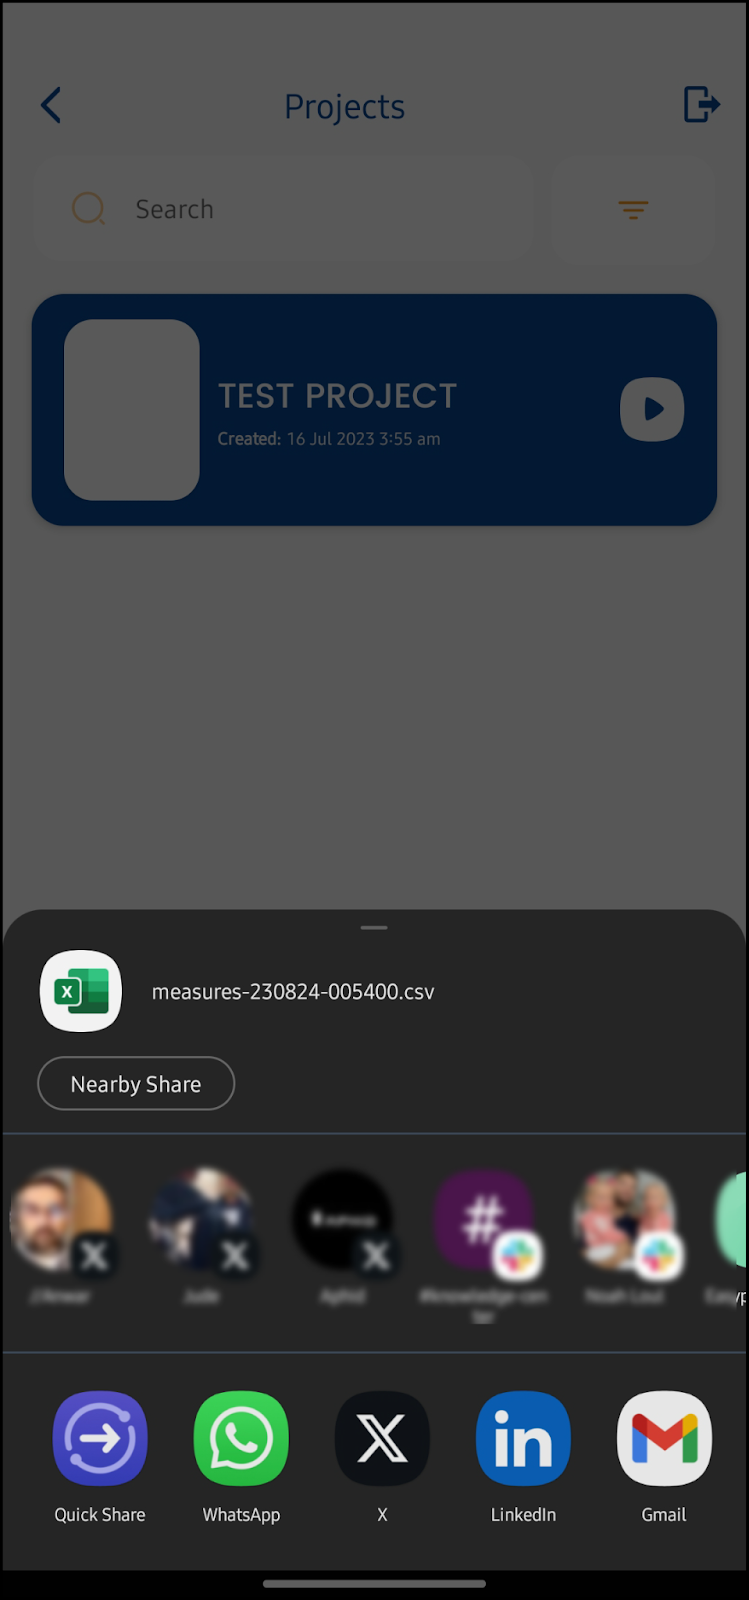
- As a result, the app saves the calculations for the selected image in a .CSV file and asks you to choose the medium via which you want to export the image data. You can make the selection and export the selected image(s) via the chosen medium.

- In case you want to do it for a complete project, long-tap the project tile from the Projects screen and tap the export icon from the options displayed at the top-right corner.
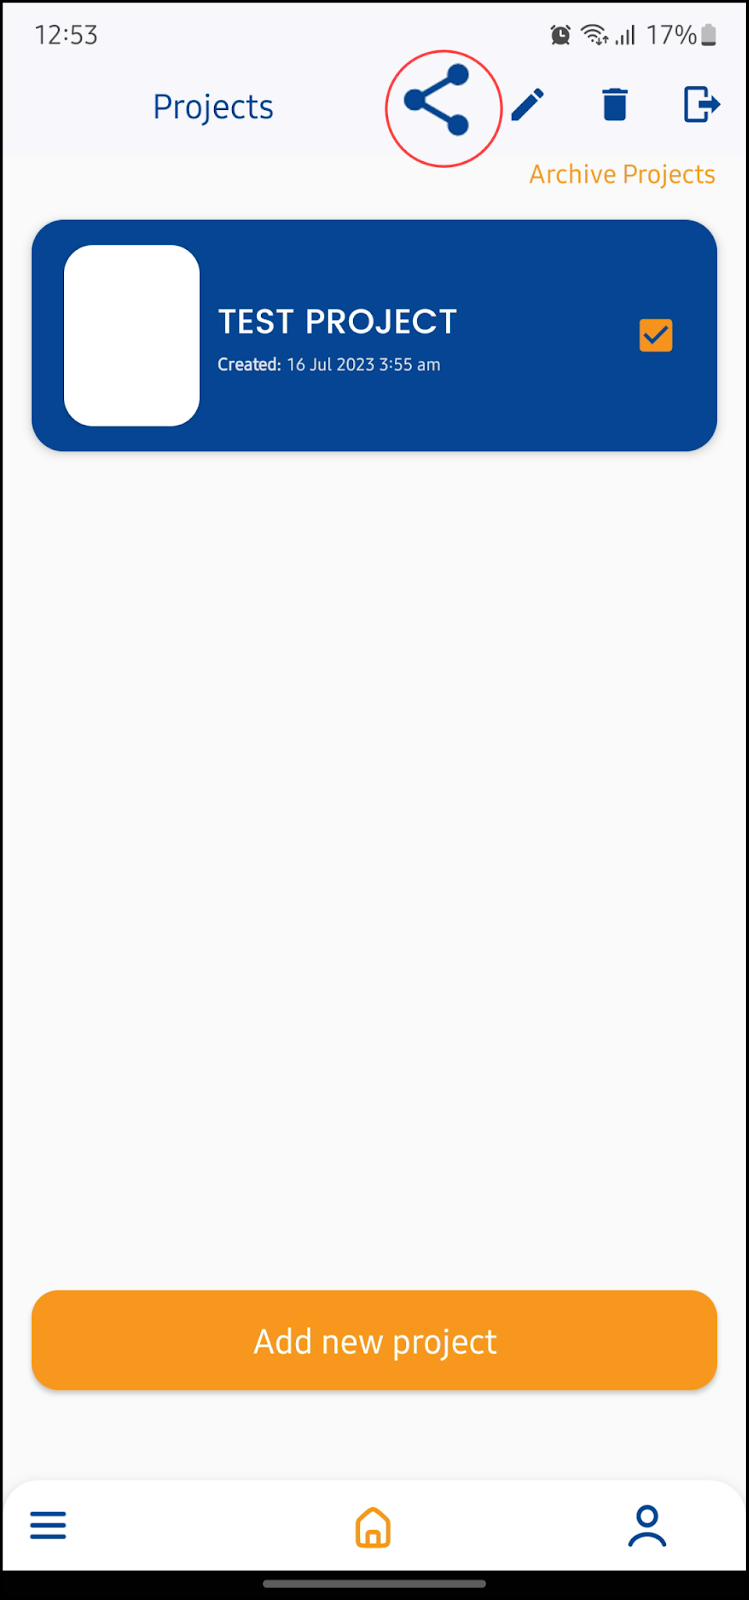
- Choose the medium via which you want to export the project data.