- The process for measuring surface free energy is also similar to the contact angle measurement.
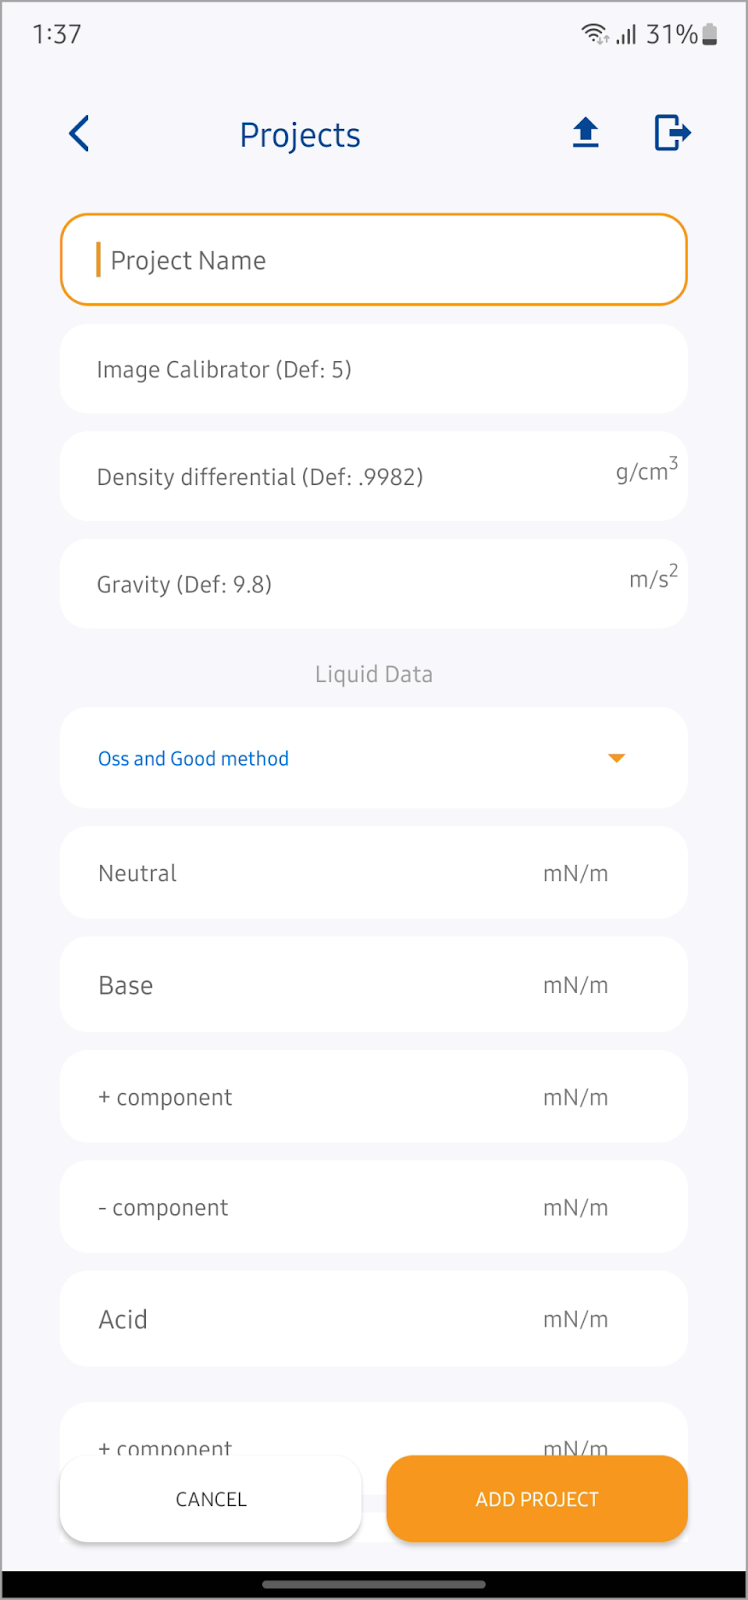
- For surface free energy measurement, there are 3 most widely used methods. They include the Neumann method, Fowkes method, and the Oss and Good method.
- The selection of the method depends on the type of surface you are using in the experiment. It is recommended to study the literature related to the surface under consideration before you select the measurement method. For our demo, we will be using the Neumann method.
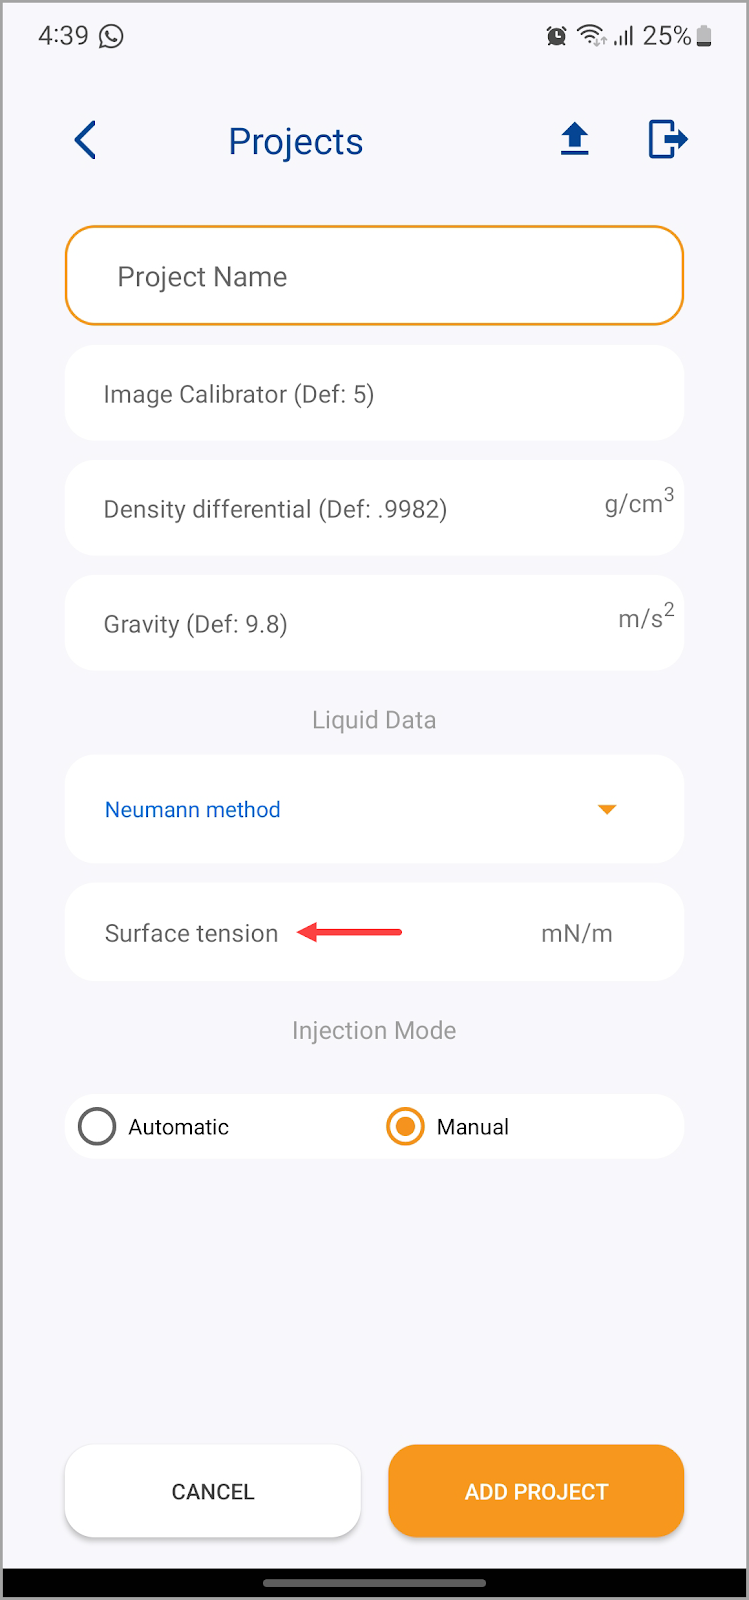
- Next up is the Surface Tension field. Use this field to record the surface tension of the material.
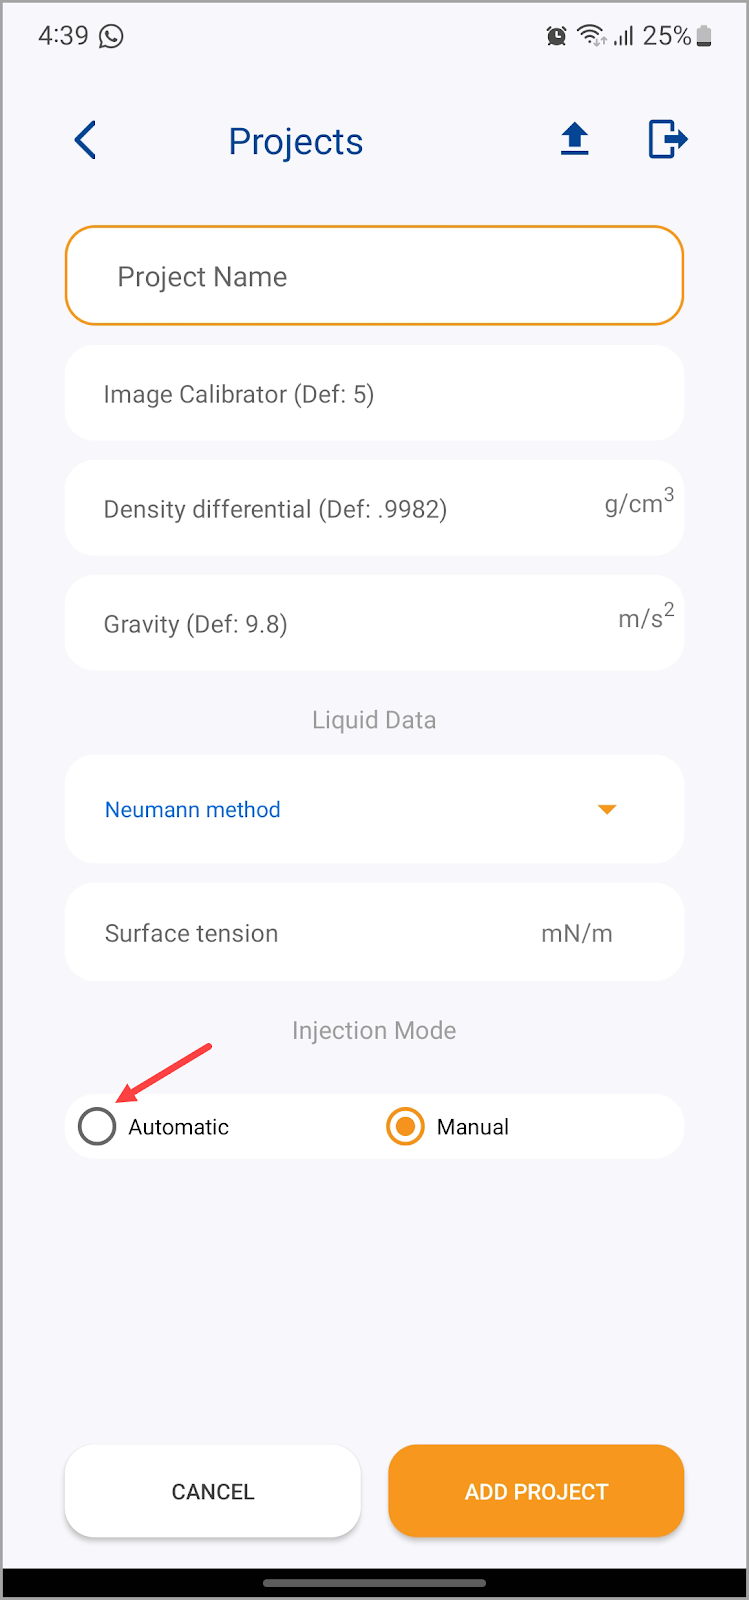
- Towards the last is the Injection Mode. By default, it is set to Manual. To choose automatic, tap the Automatic radio button.
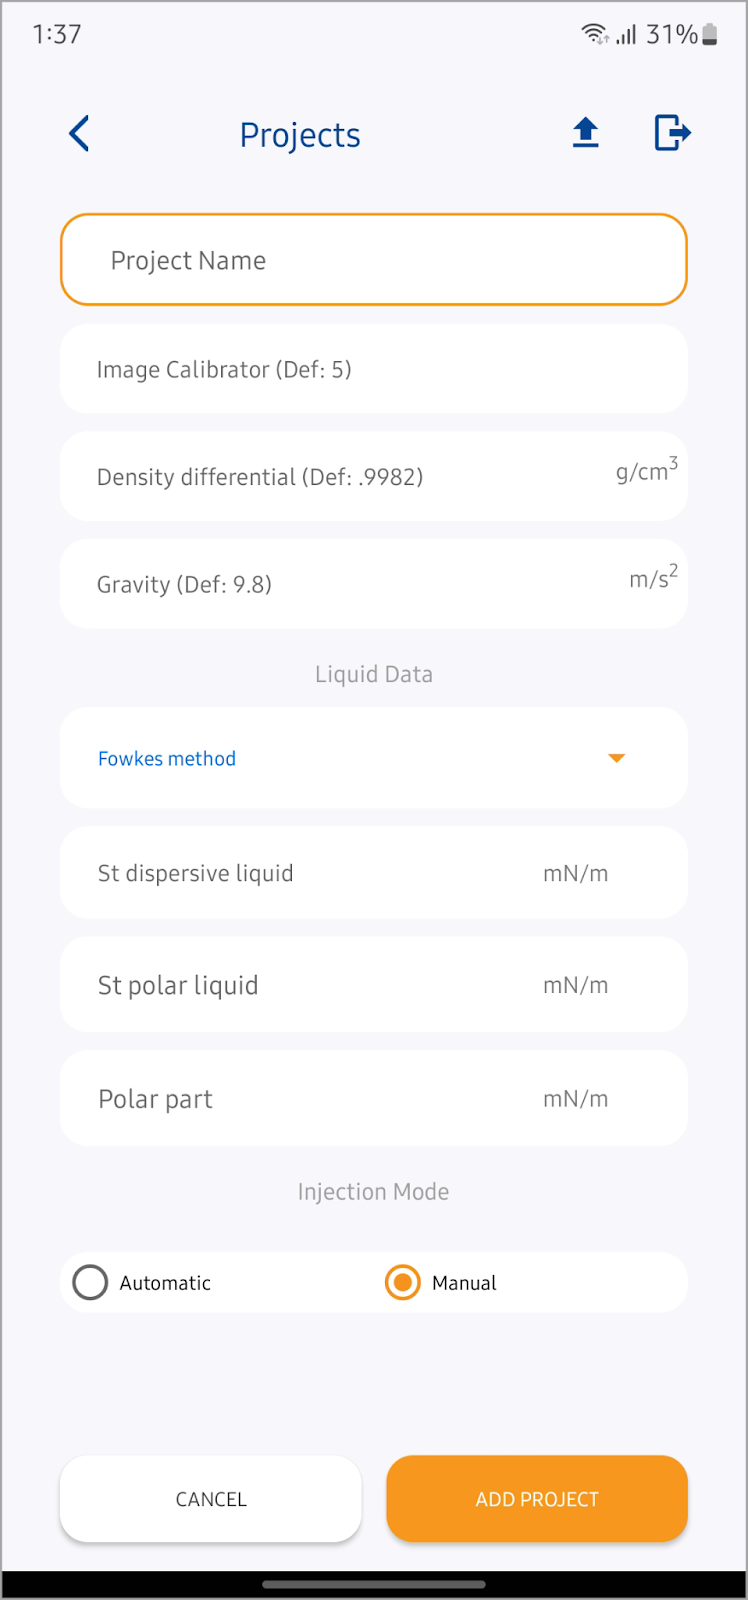
- For the Fowkes method, additional fields are displayed.
- You can see additional fields while selecting the Oss and Good method as well.
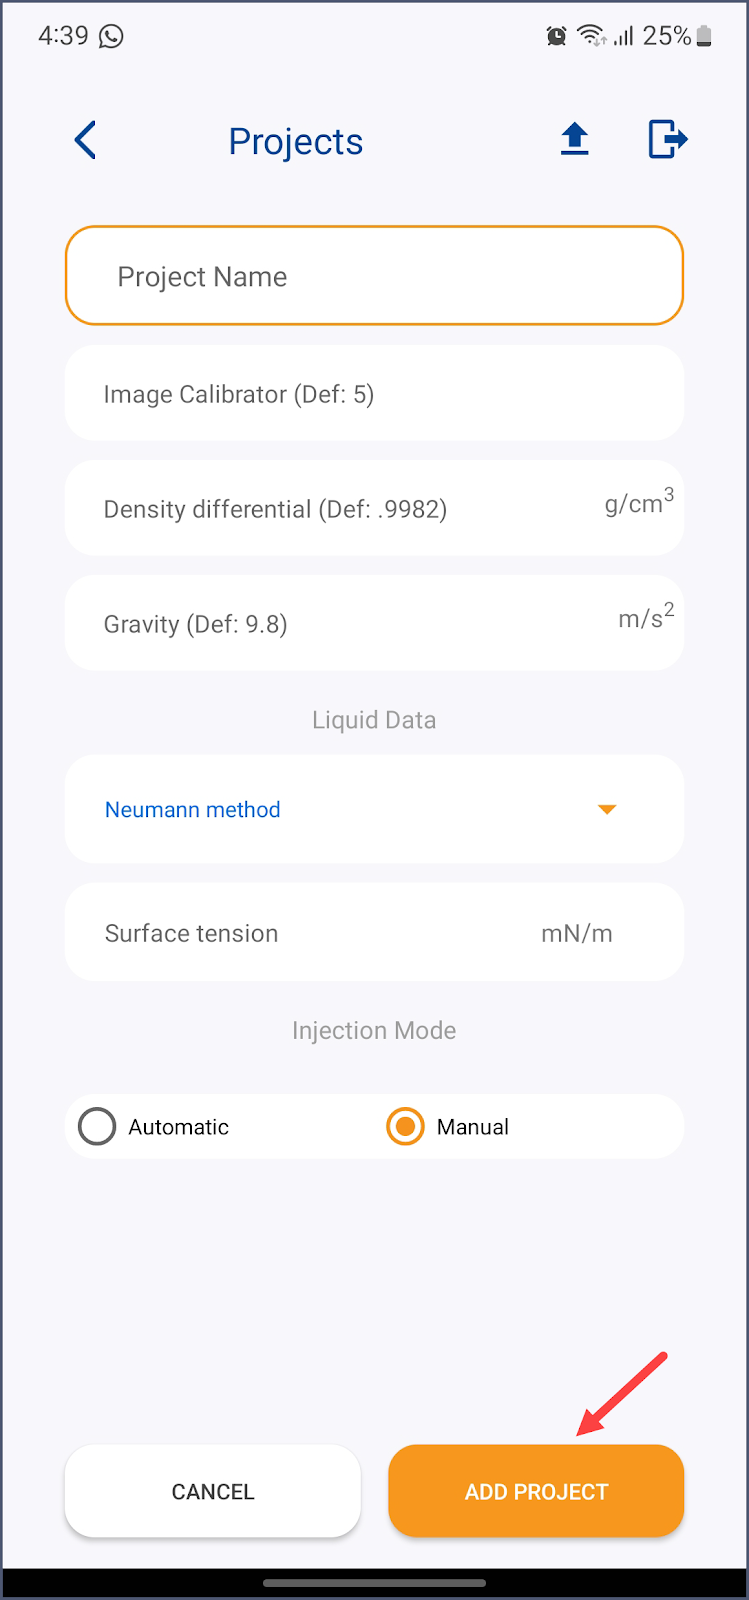
- Once the selections are made, click the Add Project button. This creates the project.
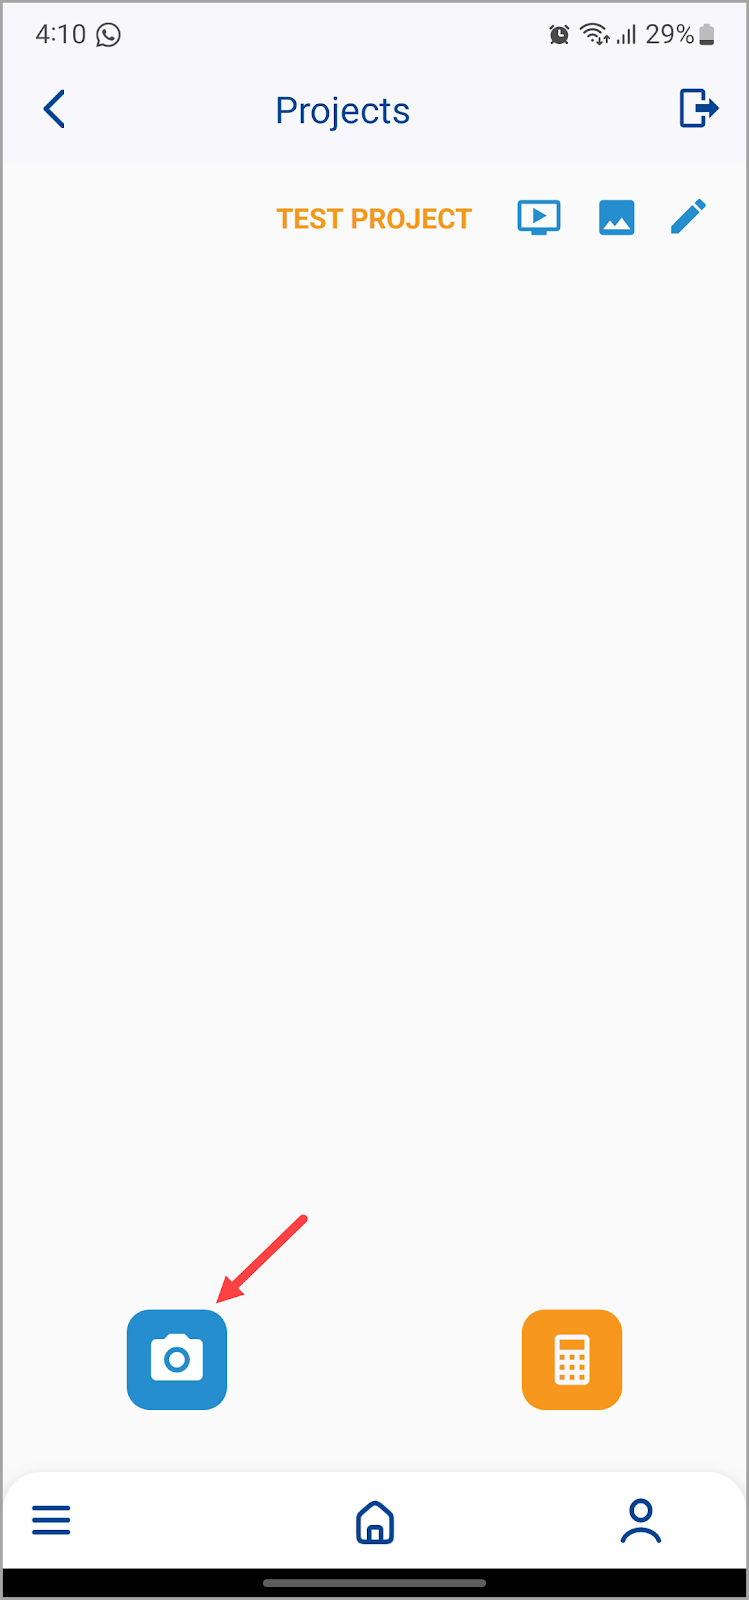
- Once the project is created, tap the project name. This displays the details of the selected project.
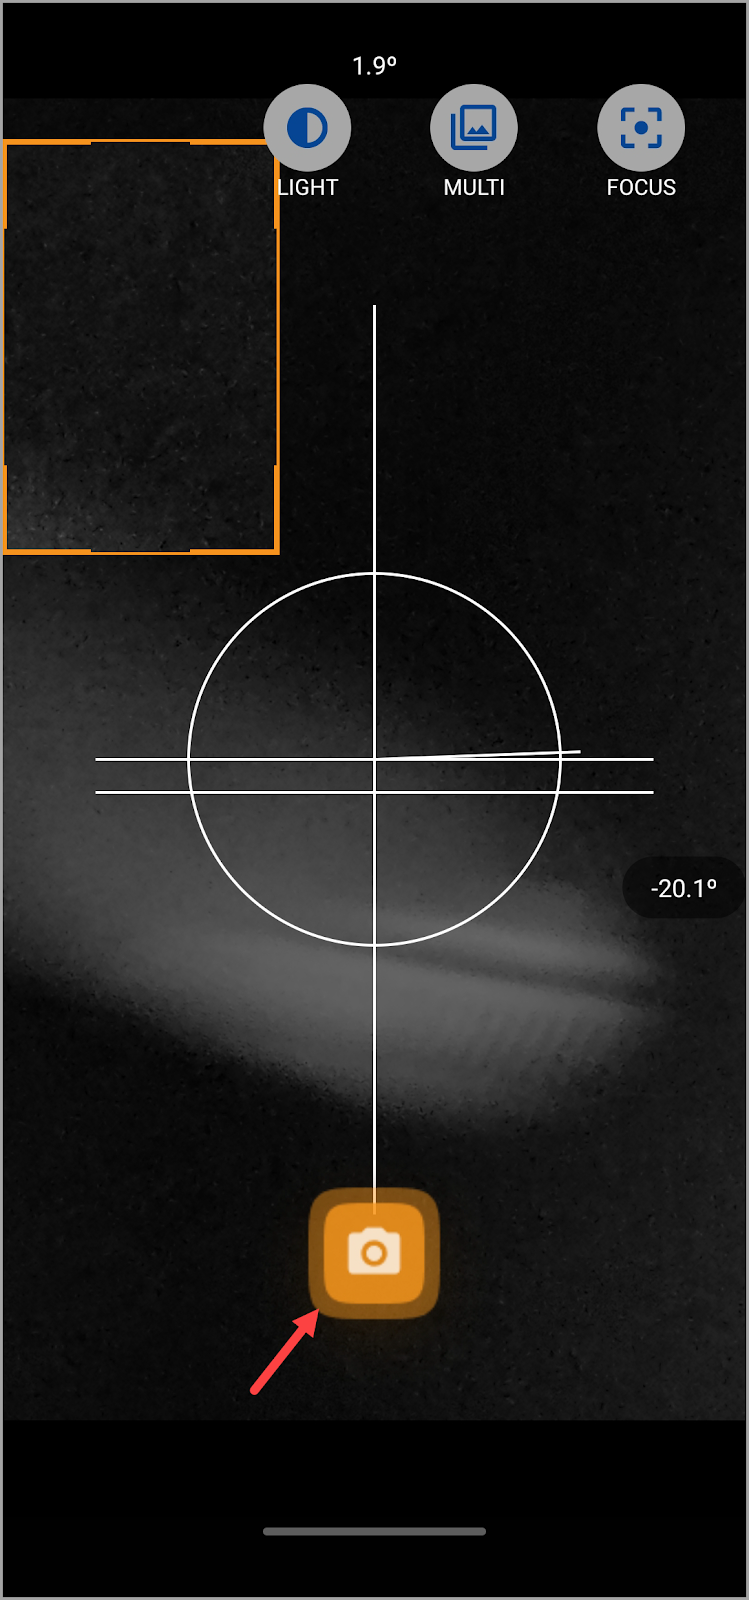
- From the screen that follows, tap the capture image button located at the bottom-left corner.
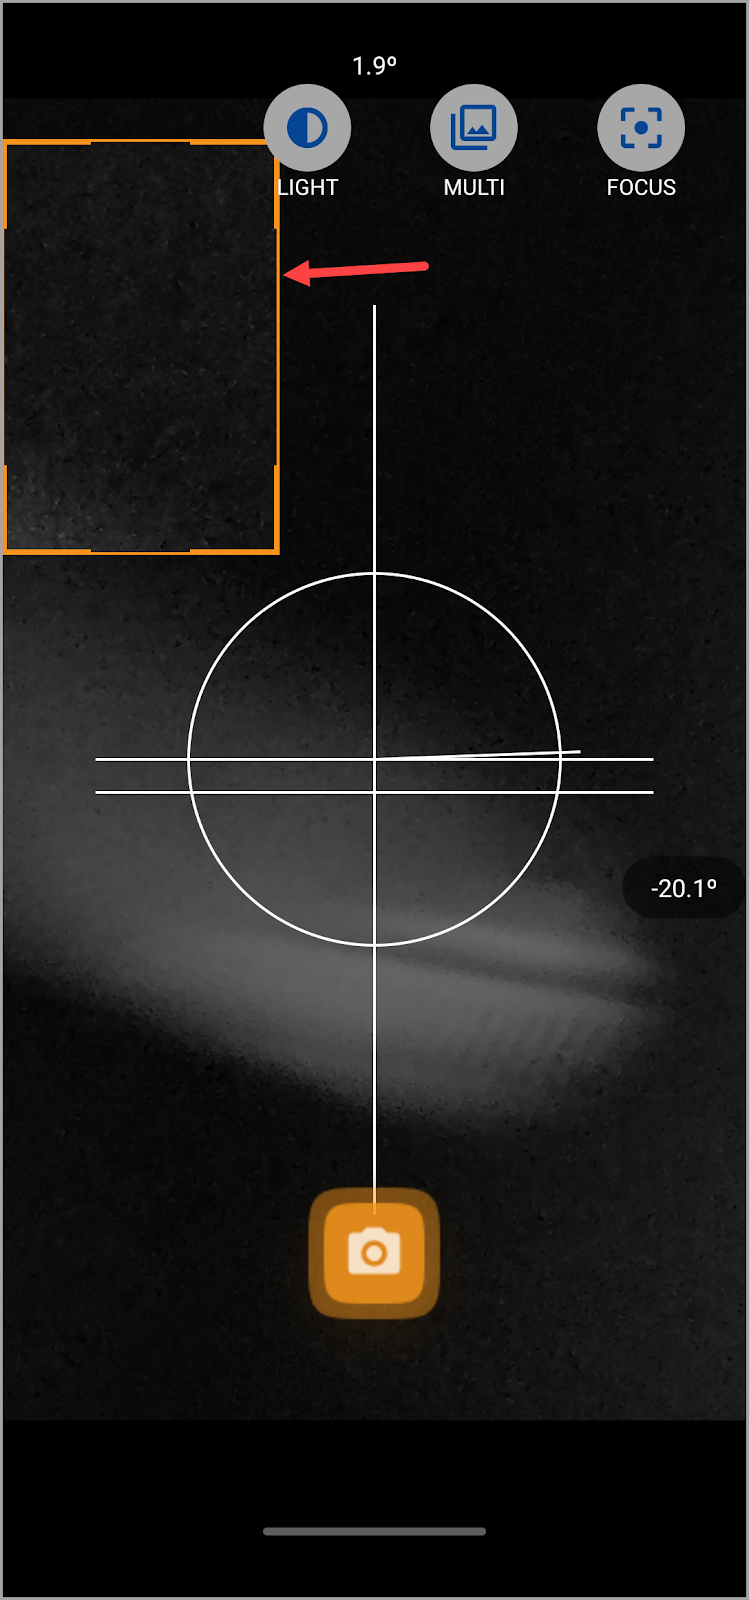
- As the camera opens, adjust the distance from the needle in a way that you do not lose focus.
- Drag and adjust the orange box to select the area you want to capture.
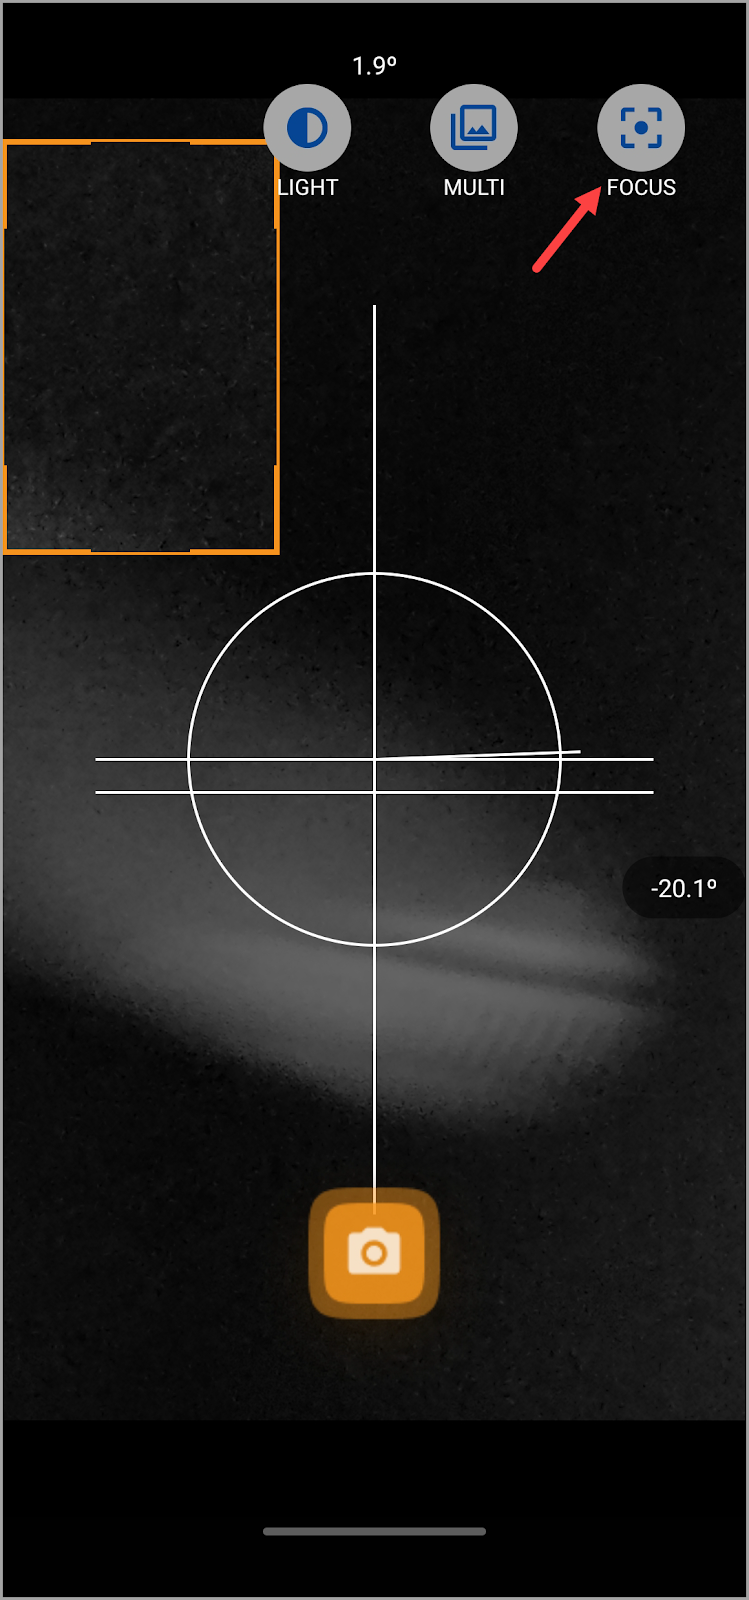
- To ease it out, tap the Focus button atop the screen so that you can adjust the focus slider in order to obtain the best results. This is because the best practice is to be as close to the droplet as possible while ensuring that the focus is not lost.
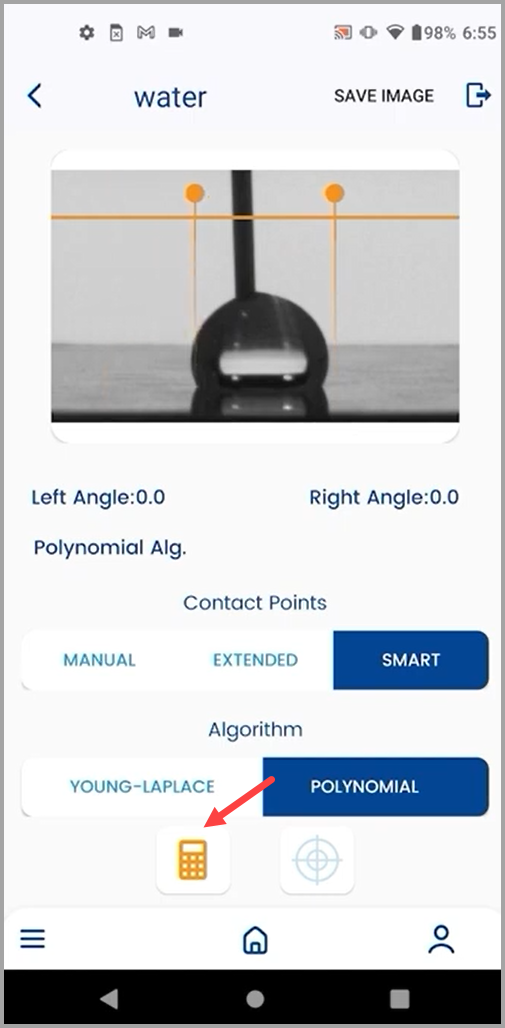
- Once the required adjustments are made, tap the capture button. Doing so displays a preview of the captured image with the contact angle details.
- Here, you can see the Contact Points heading with three options below it. They include Manual, Extended, and Smart. By default, the Smart contact points method is selected. This method only requires you to provide an estimate of the contact points at the baseline and right and left. The exact contact points are then auto-detected by the system.
- Moreover, the default algorithm for calculation is the Polynomial algorithm.
- Once the required adjustments are made, tap the calculate button.


Tips and Tricks
For best results, set the focus slider as close to the maximum value as possible.
Moreover, you can get the best contrast between the droplet and the background by adjusting the LED light on the base plate.
To better configure the image settings, capture a droplet for reference.

Here, a useful tip to keep in mind is not mistaking the reflection of the droplet for the original droplet while capturing the baseline contact points.

The Young Laplace method has already been explained in detail in the How to Calibrate the Instrument? article.