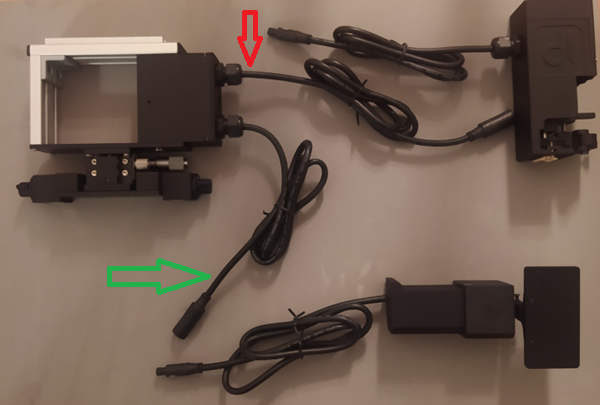
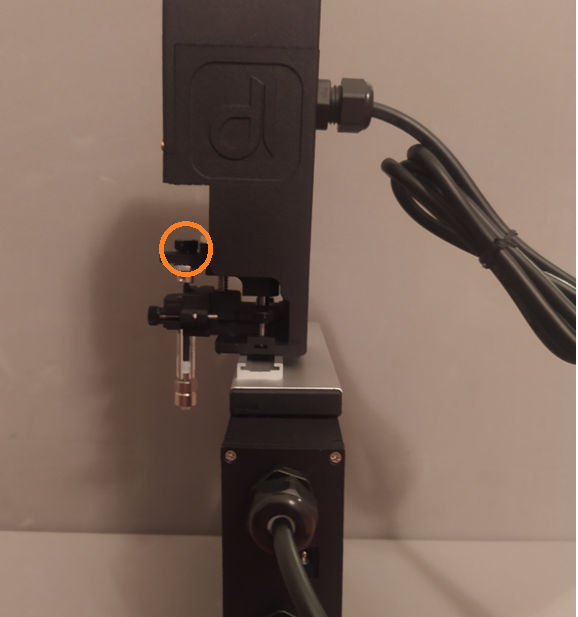
Note: Before we delve into each step, it is imperative to note that the wire at the top (with the red arrow) is for the automatic injector whereas the one at the bottom (with the green arrow) is for automatic rotation stage.
Hardware
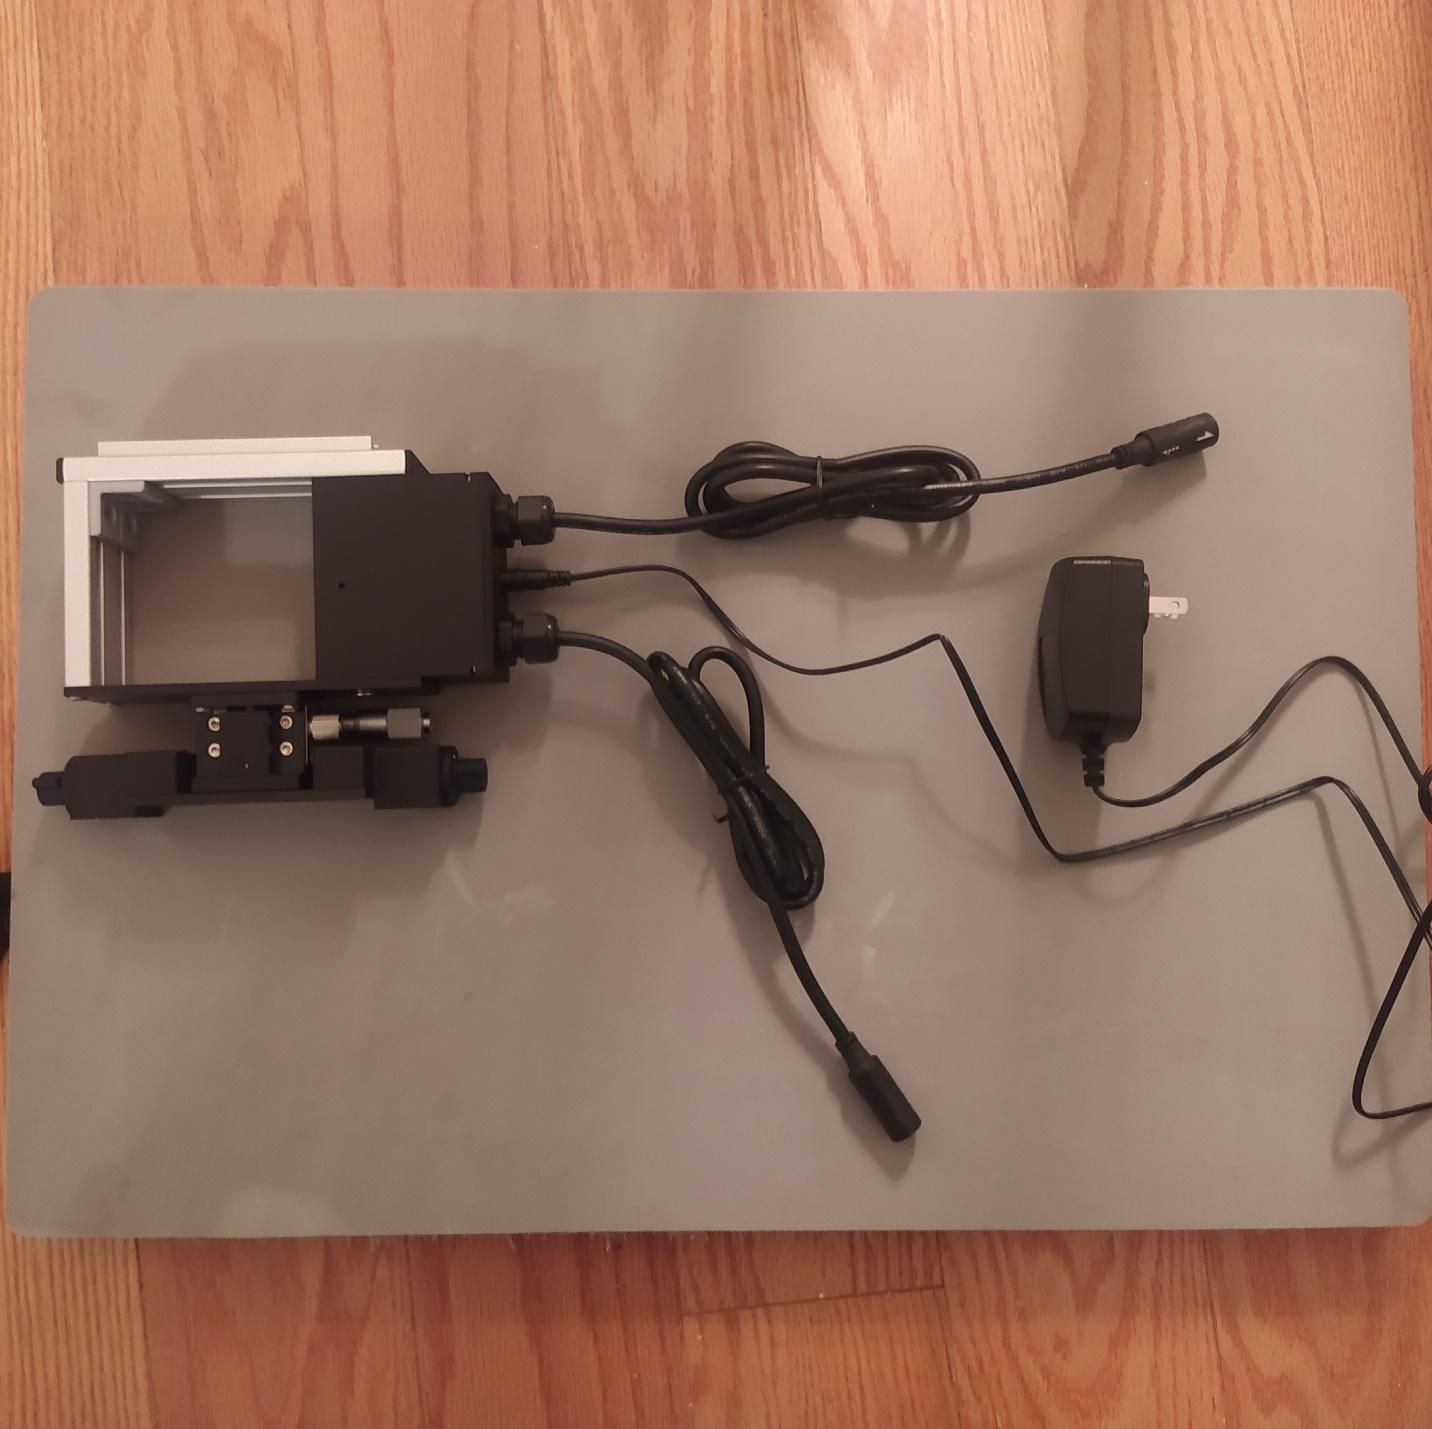
- Make sure that the white lines are aligned and push them in so that the connectors are connected.
- Do this activity for both the injector and sliding stage.

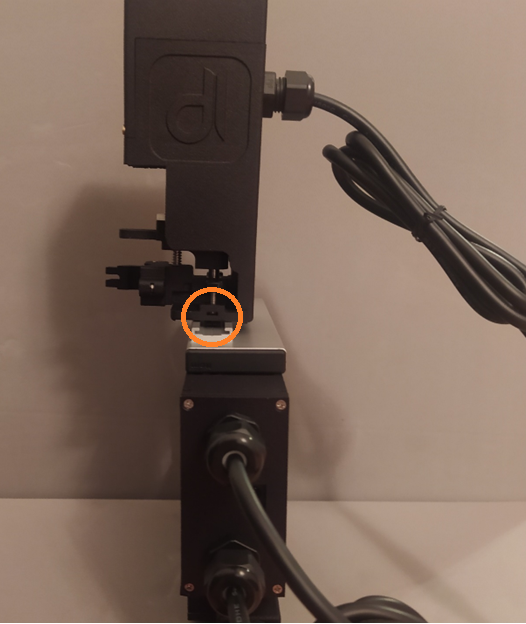
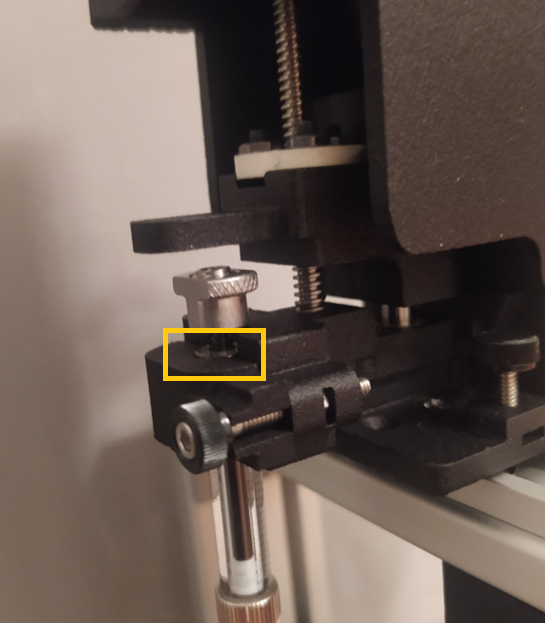
- Use the jack to plug the power adapter. The jack is highlighted in the screen below.

- Power adapter being successfully plugged looks as shown in the image below.
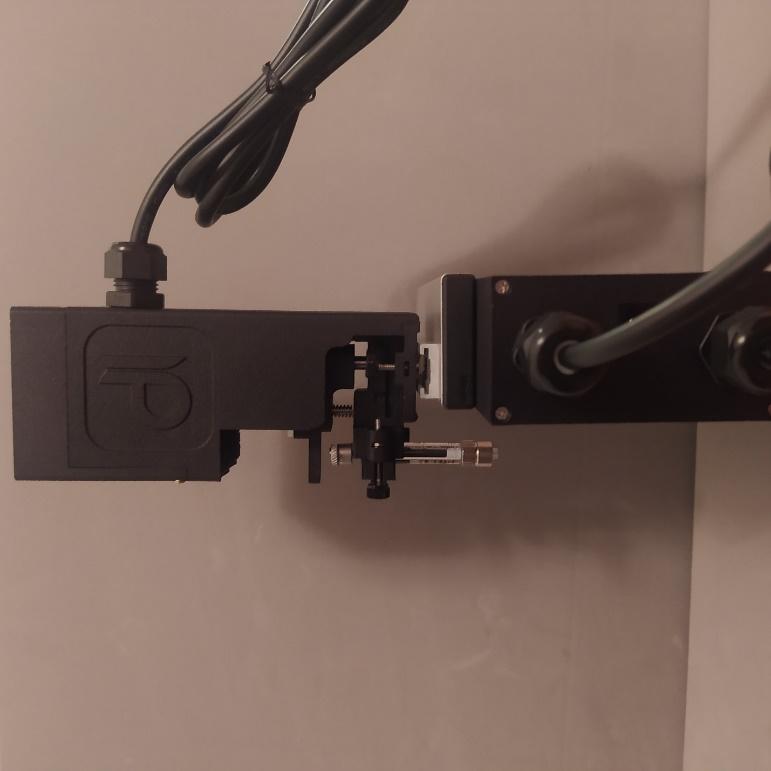
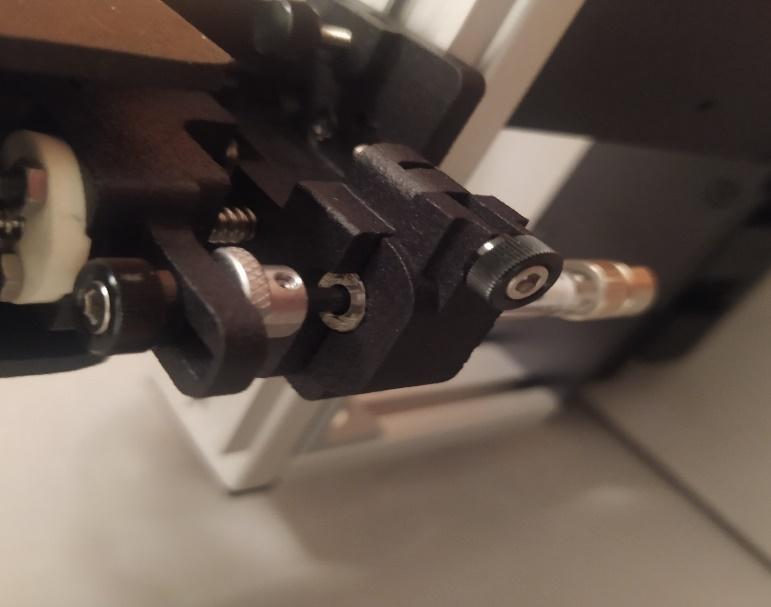
- Slide the injector onto the stage. Use the thumb screws to ensure that the injector is locked in.
- Once that is done, add the syringe to the stage.
- Lock the body of the syringe into the injector. Make sure that the top of the glass barrel is aligned with the front latch.
- Use the thumb screws again to attach the plunger of the syringe to the injector.
- Once attached, the automatic dropper looks as displayed in the image below.

- Here is how a completely assembled automatic dropper looks like.
Mobile Application
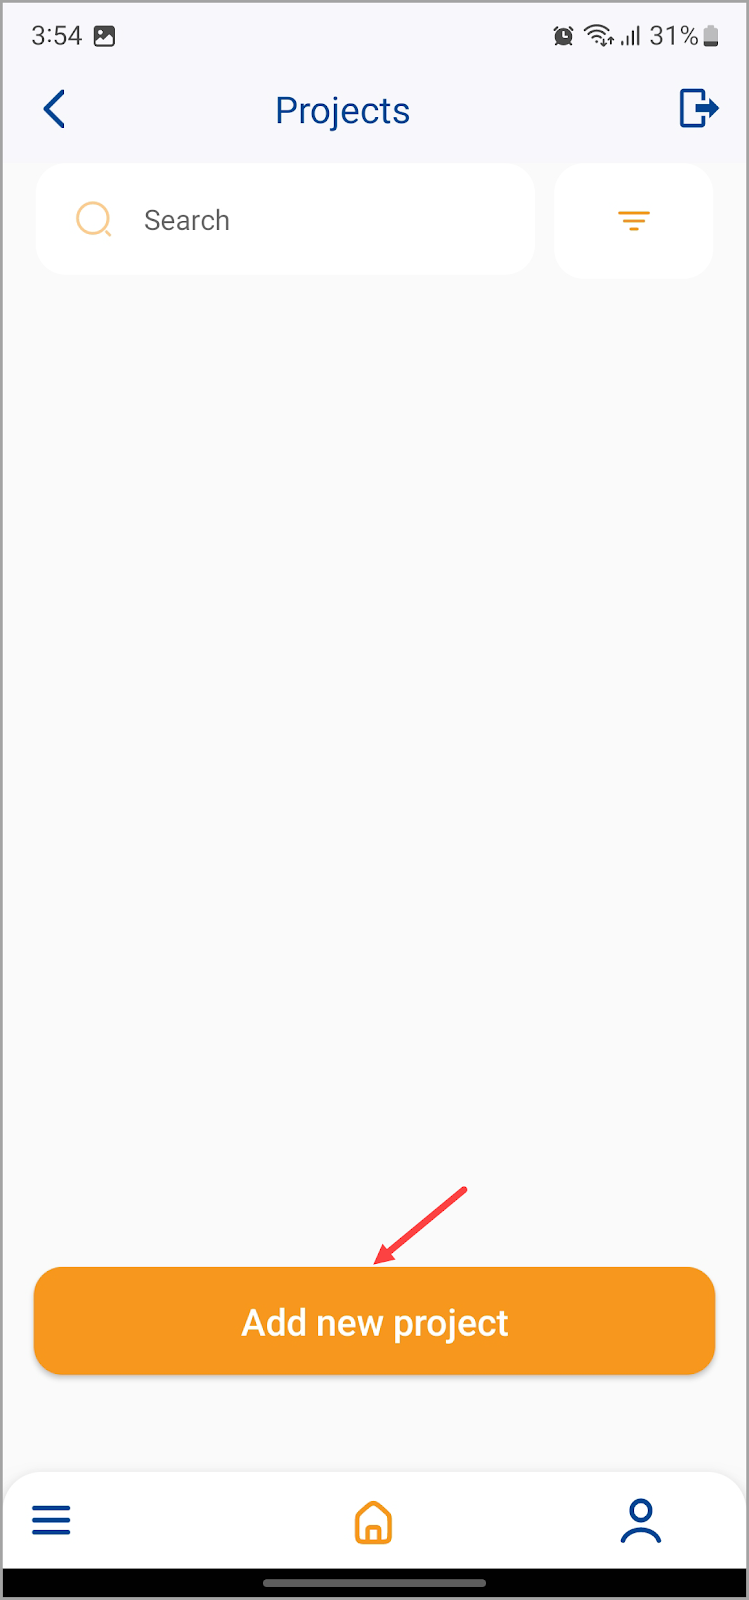
- From the Projects screen, tap the Add Project button. This opens the project creation workflow.
- From the Injection Mode, select Automatic by tapping the Automatic radio button.
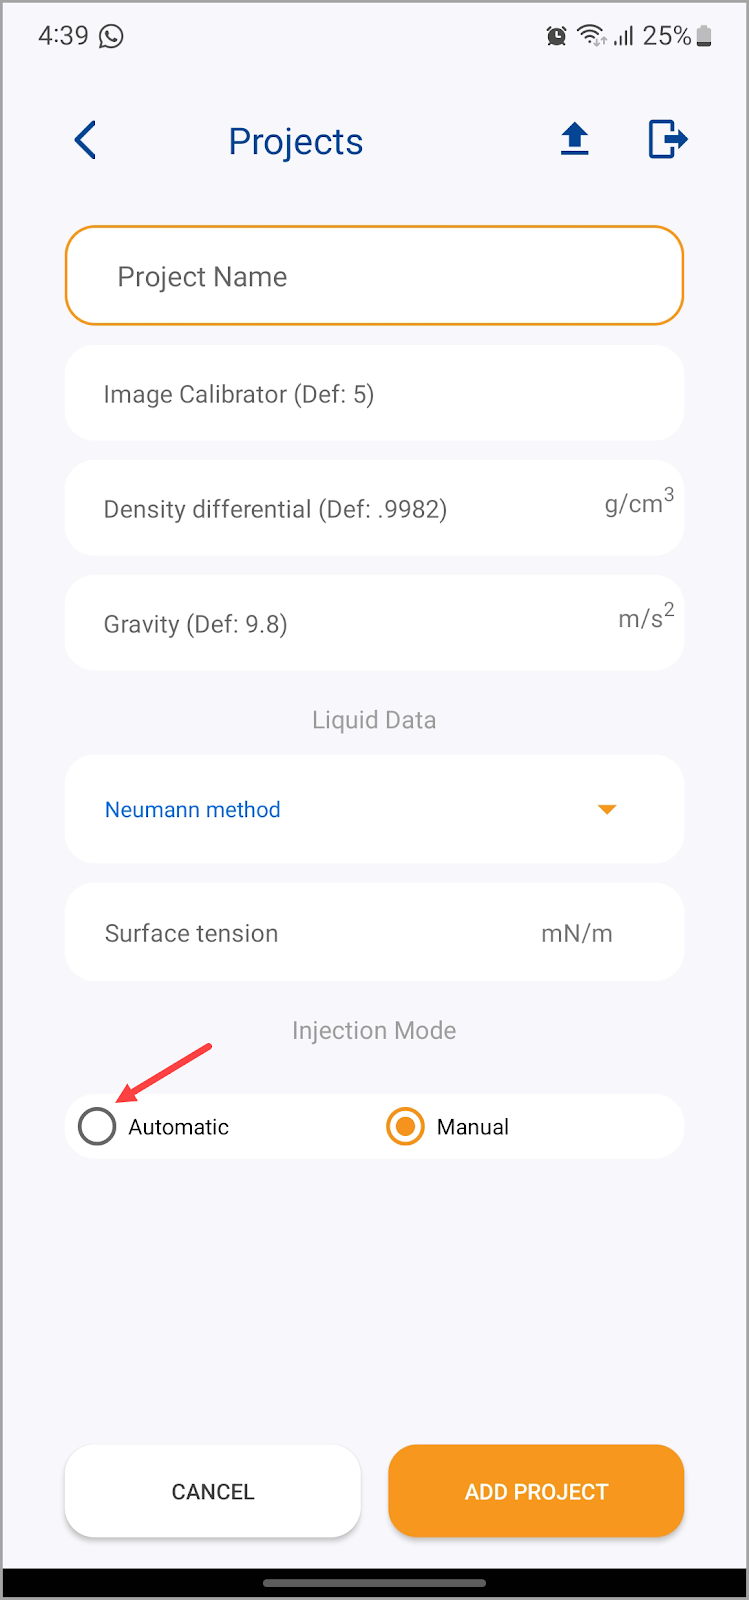
- Once selected, enter the name of the project in the Project Name field.
- Upon entering the project name, wait for the dropometer to be displayed.
- As it is displayed, tap the dropometer name so that it gets selected.

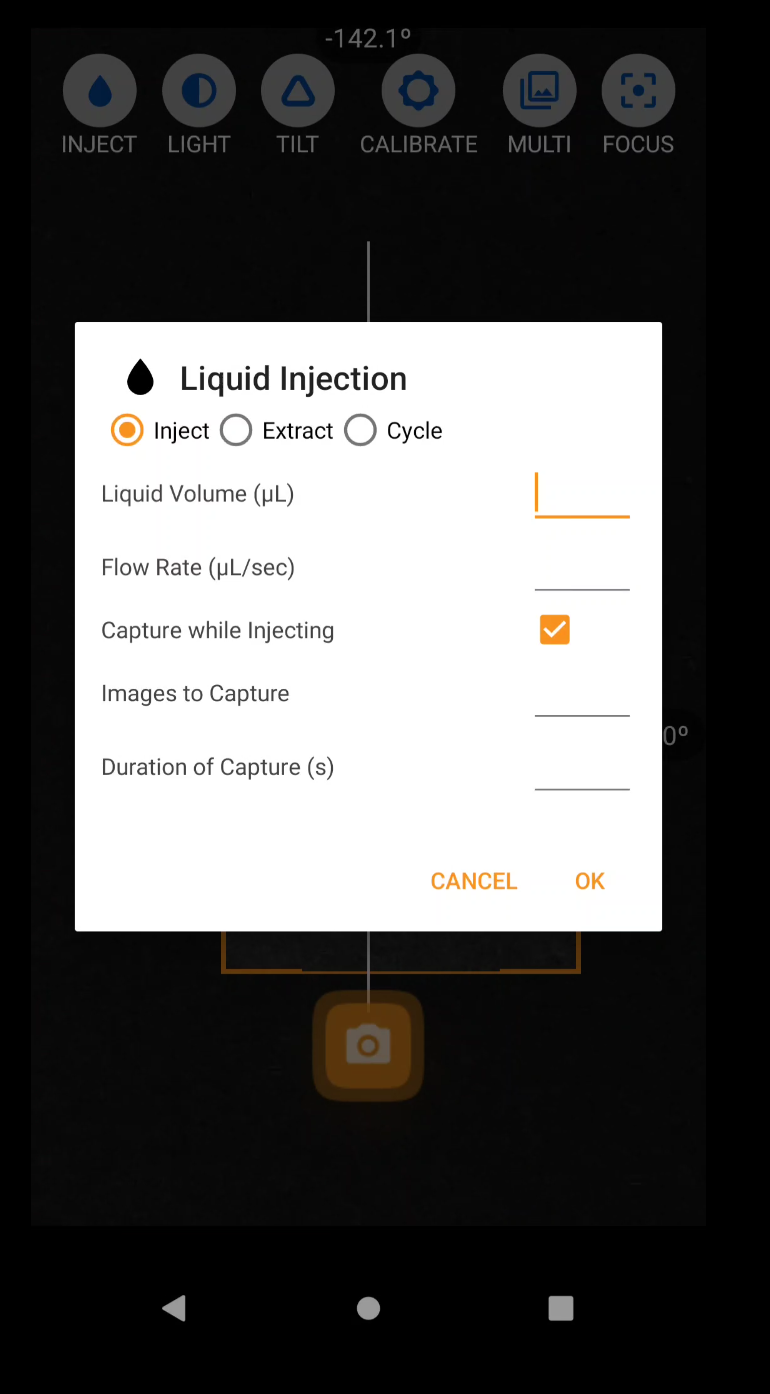
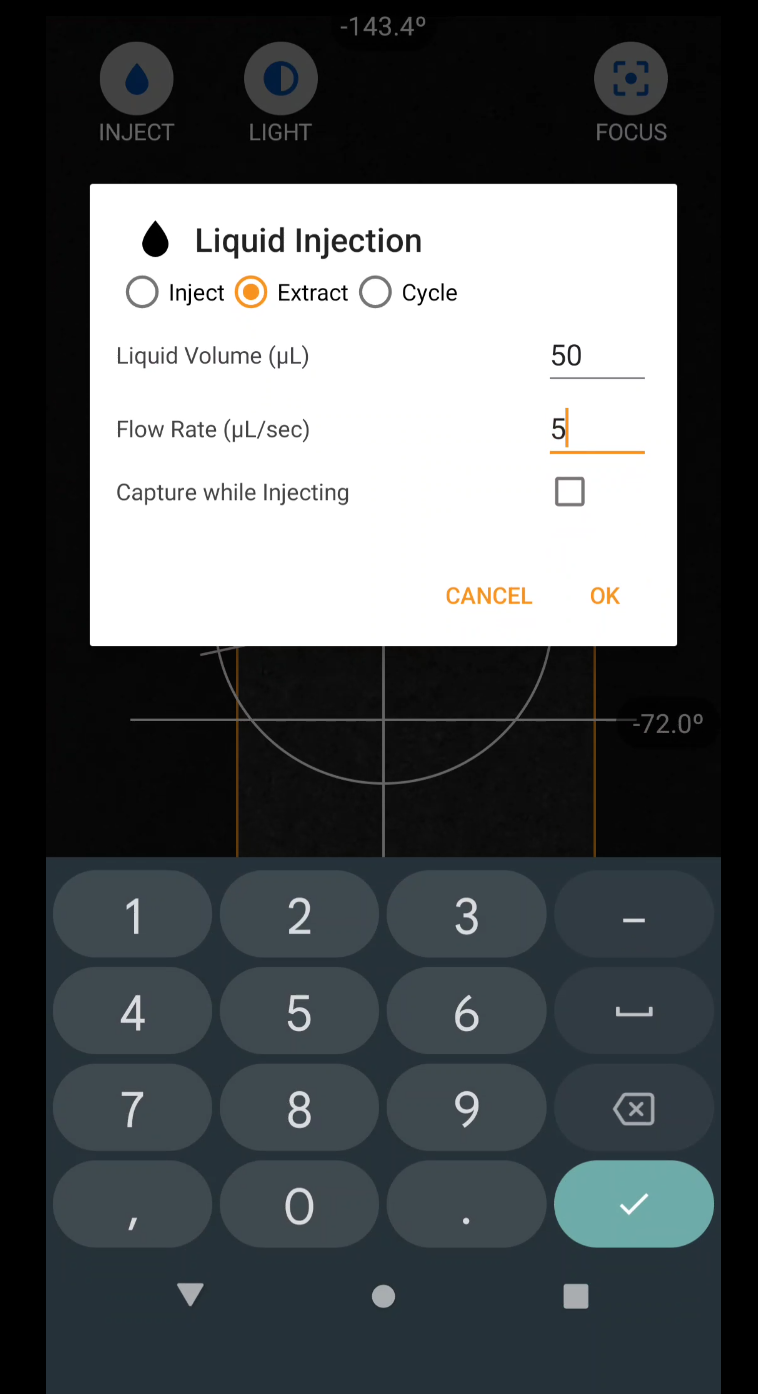
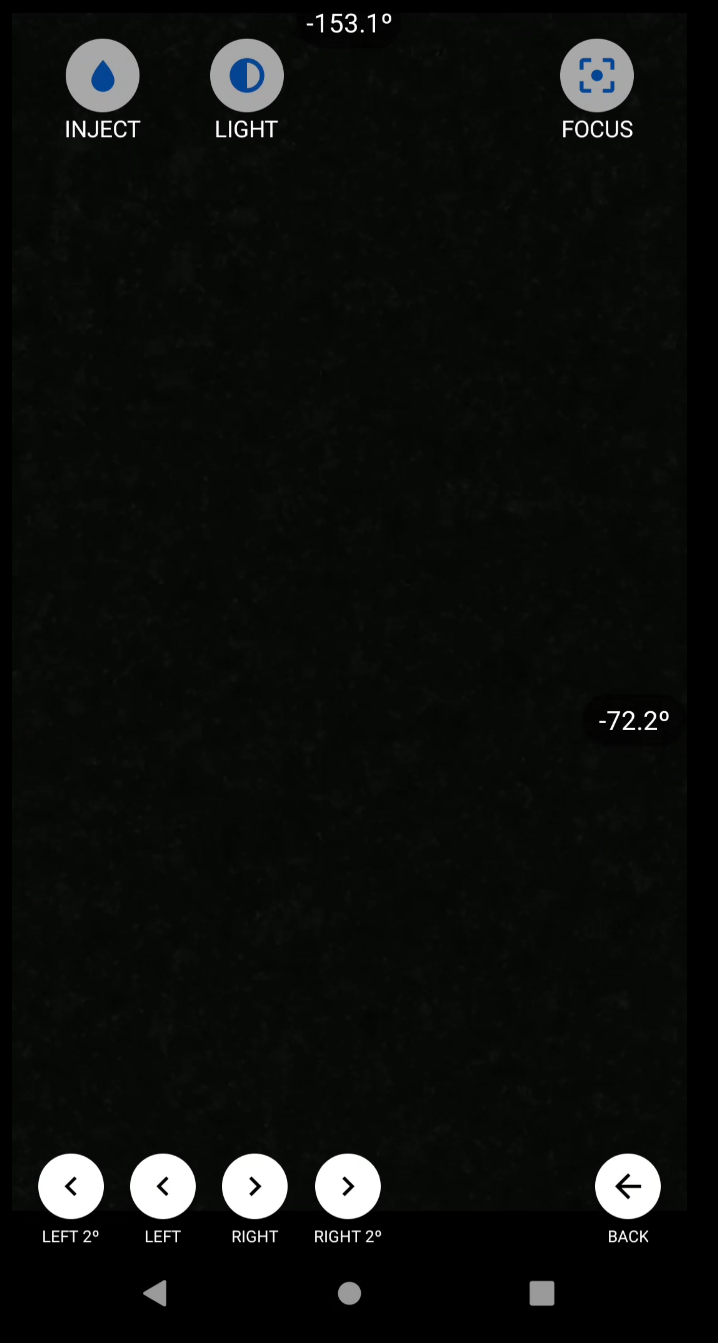
- From the capture screen, tap the Inject button at the top so that you can control the injector.

- As a result, the Liquid Injection popup is displayed. From here, choose the inject, extract, or cycle option as per your project requirement.
- Once that is done, tap the Calibrate button.
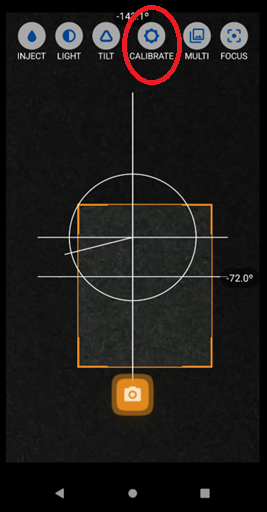
- As a result, the calibration options are displayed. This aids levelling of the tilt stage. To ease it further, place a bubble level on the stage.
- After that, tap the Tilt button. This opens the Dynamic Plate Tilt popup allowing you to set the Tilt Angle, Tilt Rate, and the number of images to capture.
