- The surface tension measurement process is also similar to the ones explained earlier.
- Starting off, you need to create a new project while filling in the project name, image calibrator, density differential, and acceleration of gravity explained in the which calibrations are needed for measurement? article.
- Once the project is created, tap the image capture button located at the bottom-left corner of the screen.
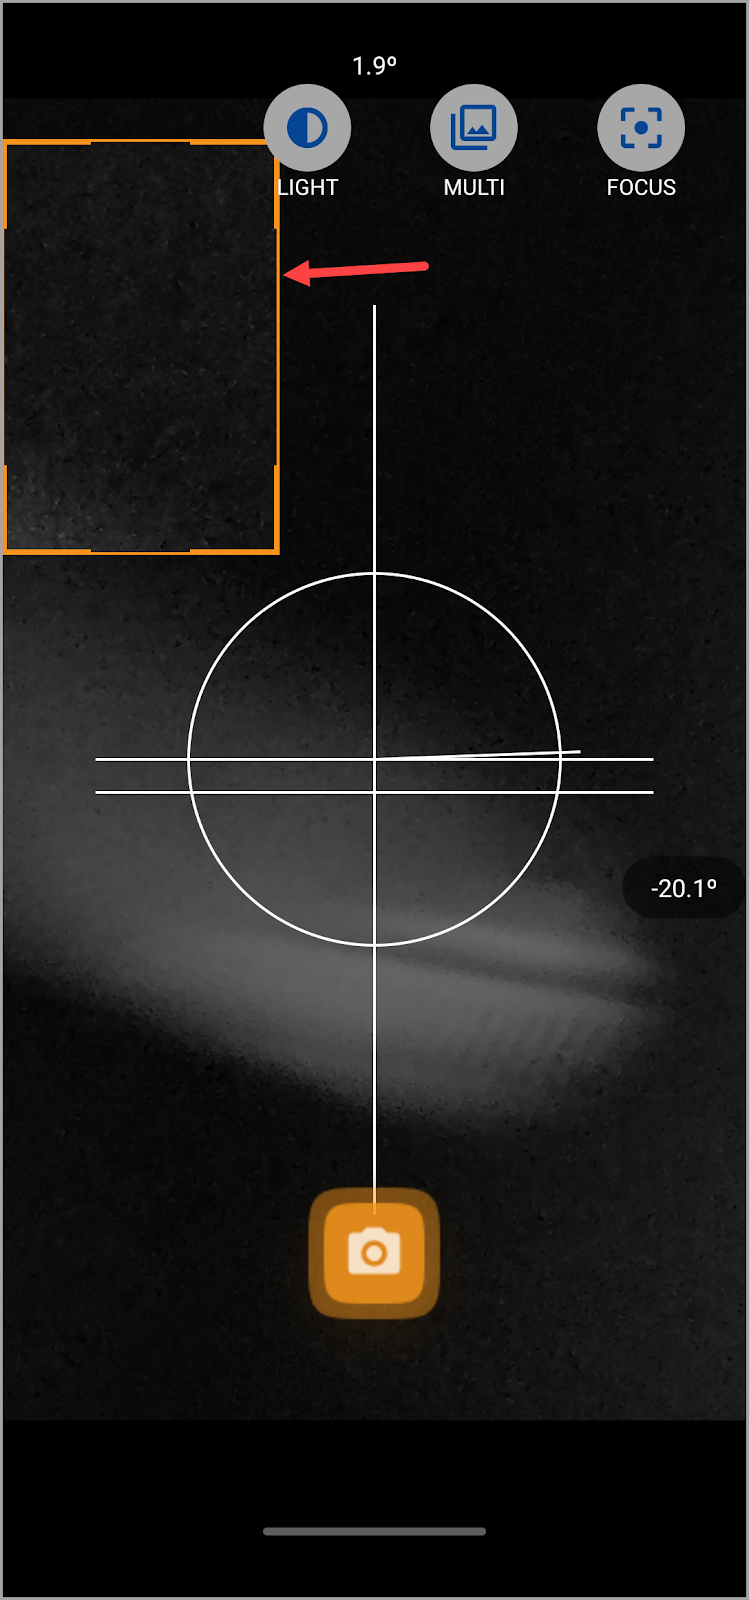
- As the camera opens, adjust the distance from the needle in a way that you do not lose focus.
- Drag and adjust the orange box to select the area you want to capture.
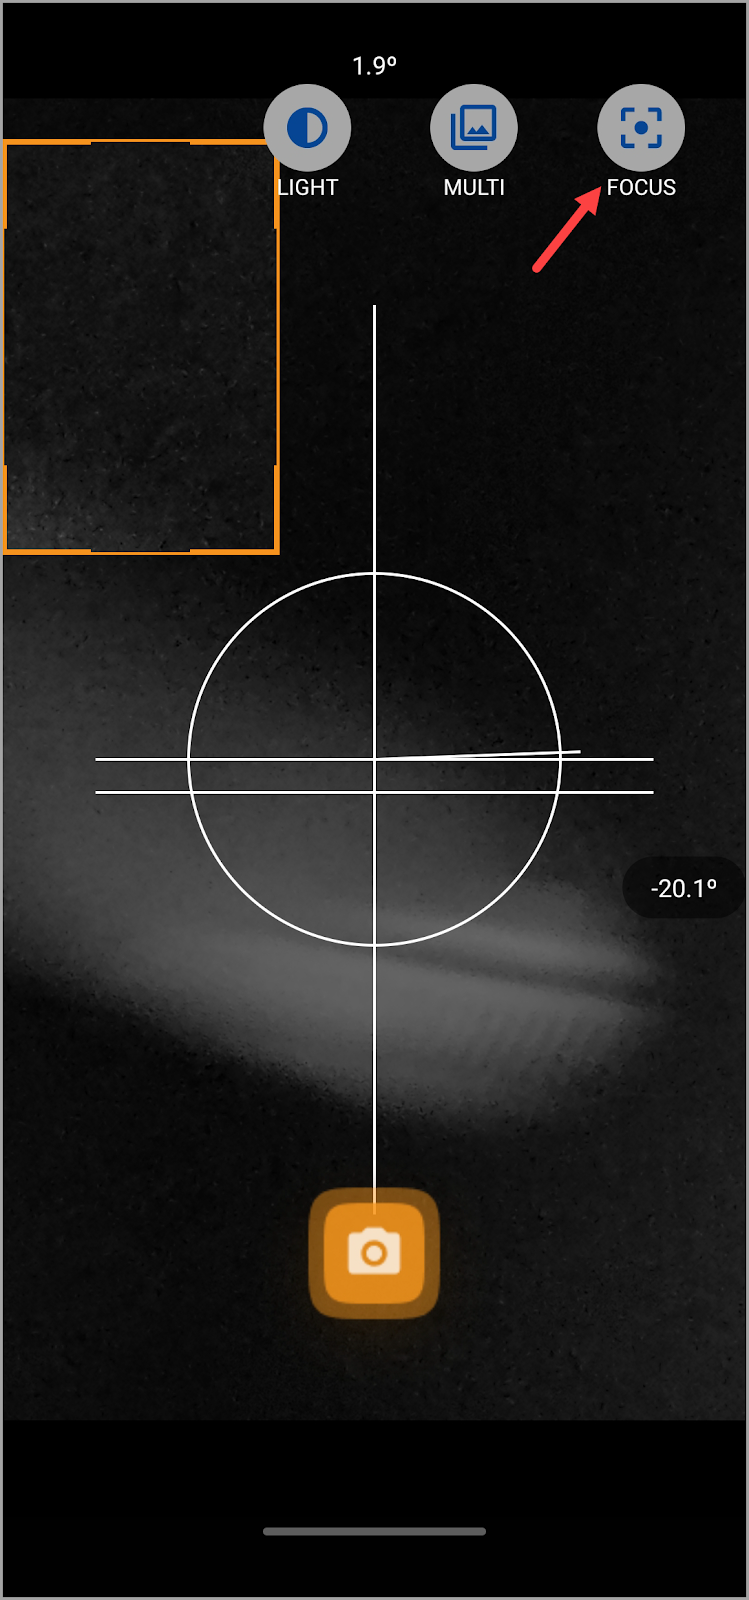
- To ease it out, tap the Focus button atop the screen so that you can adjust the focus slider in order to obtain the best results. This is because the best practice is to be as close to the droplet as possible while ensuring that the focus is not lost.
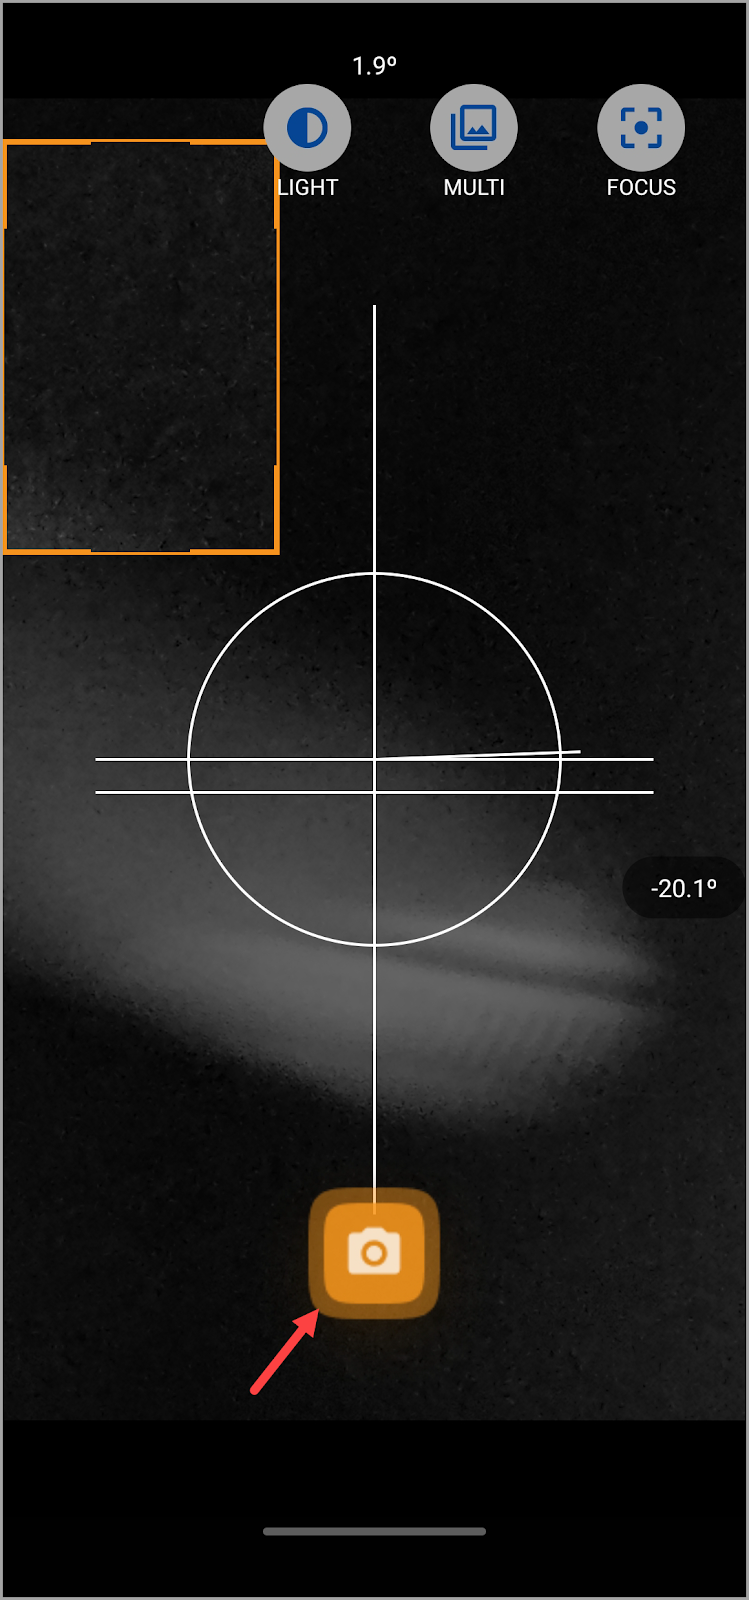
- Once the required adjustments are made, tap the capture button. Doing so displays a preview of the captured image with the contact angle details.
- However, it is recommended to generate a tear-shaped droplet large enough that it is about to detach from the needle so that the shape deforms sufficiently by gravity for this type of measurement.
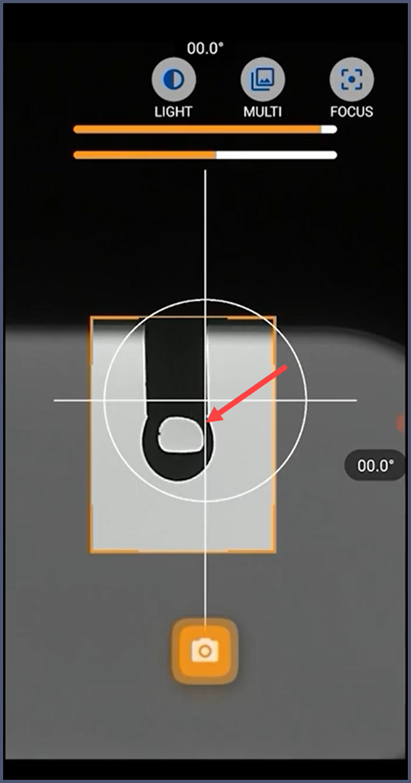
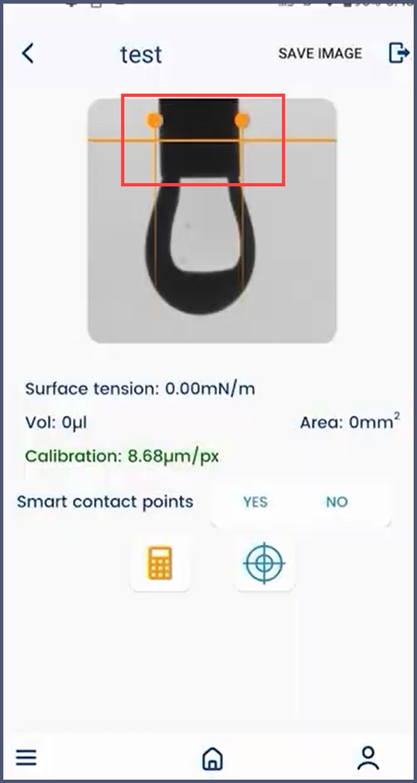
- Once the image is captured, the measurement details screen is displayed.
- Here, adjust the orange vertical bar to the position at which the droplet meets the needle.
- Adjust both points of the vertical bar to the sides of the droplet. Once that is done, tap the Calculate button.
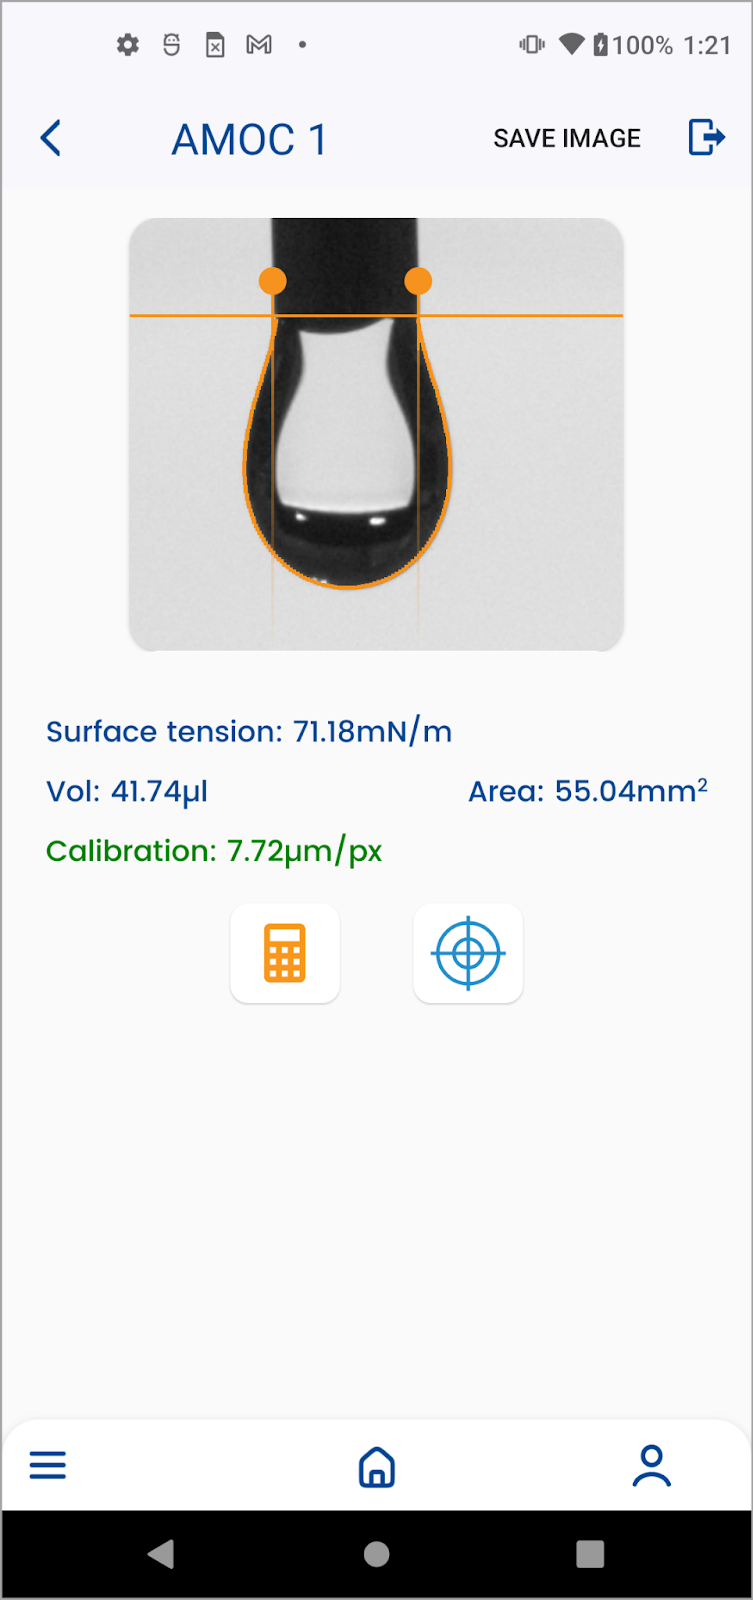
- Once calculated, you get the surface tension, volume, and the area of the droplet.
- As explained earlier, the color in which the calibration value is displayed depicts whether the value is correct or incorrect (green indicates correct whereas yellow or red indicates incorrect).